Action: Perform a Guardian Action
Cloudhouse Guardian (Guardian) offers the ability to configure actions that automatically occur when certain events take place. You can use this feature to automate maintenance of your node inventory. For example, you can define rules that automatically add newly detected nodes to appropriate node groups. Or, you can configure actions to perform certain scans when triggered, including node scans, node group scans, and environment scans.

Tip: For an overview of actions in Guardian, including more options available to choose from, see Actions.
Action Settings
When configuring a Guardian action, the following settings are displayed:
| Setting | Description |
|---|---|
| Action name field | A unique name for the action. This name is how you will identify this action among all others configured in your Guardian instance, so ensure it is descriptive. For example, 'New Nodes to Windows Group' and not simply 'New Nodes'. |
| Guardian Action drop-down list |
A list of available actions Guardian can take when this action is triggered, including:
Note: The selection you make from this drop-down will display additional fields. Refer to the tables below for more information on what is required for your chosen action. |
Add Node to Group
This action lets you automatically add newly detected nodes to certain groups. For example, you could configure this action to automatically add new nodes running Windows operating systems to your Windows node group.
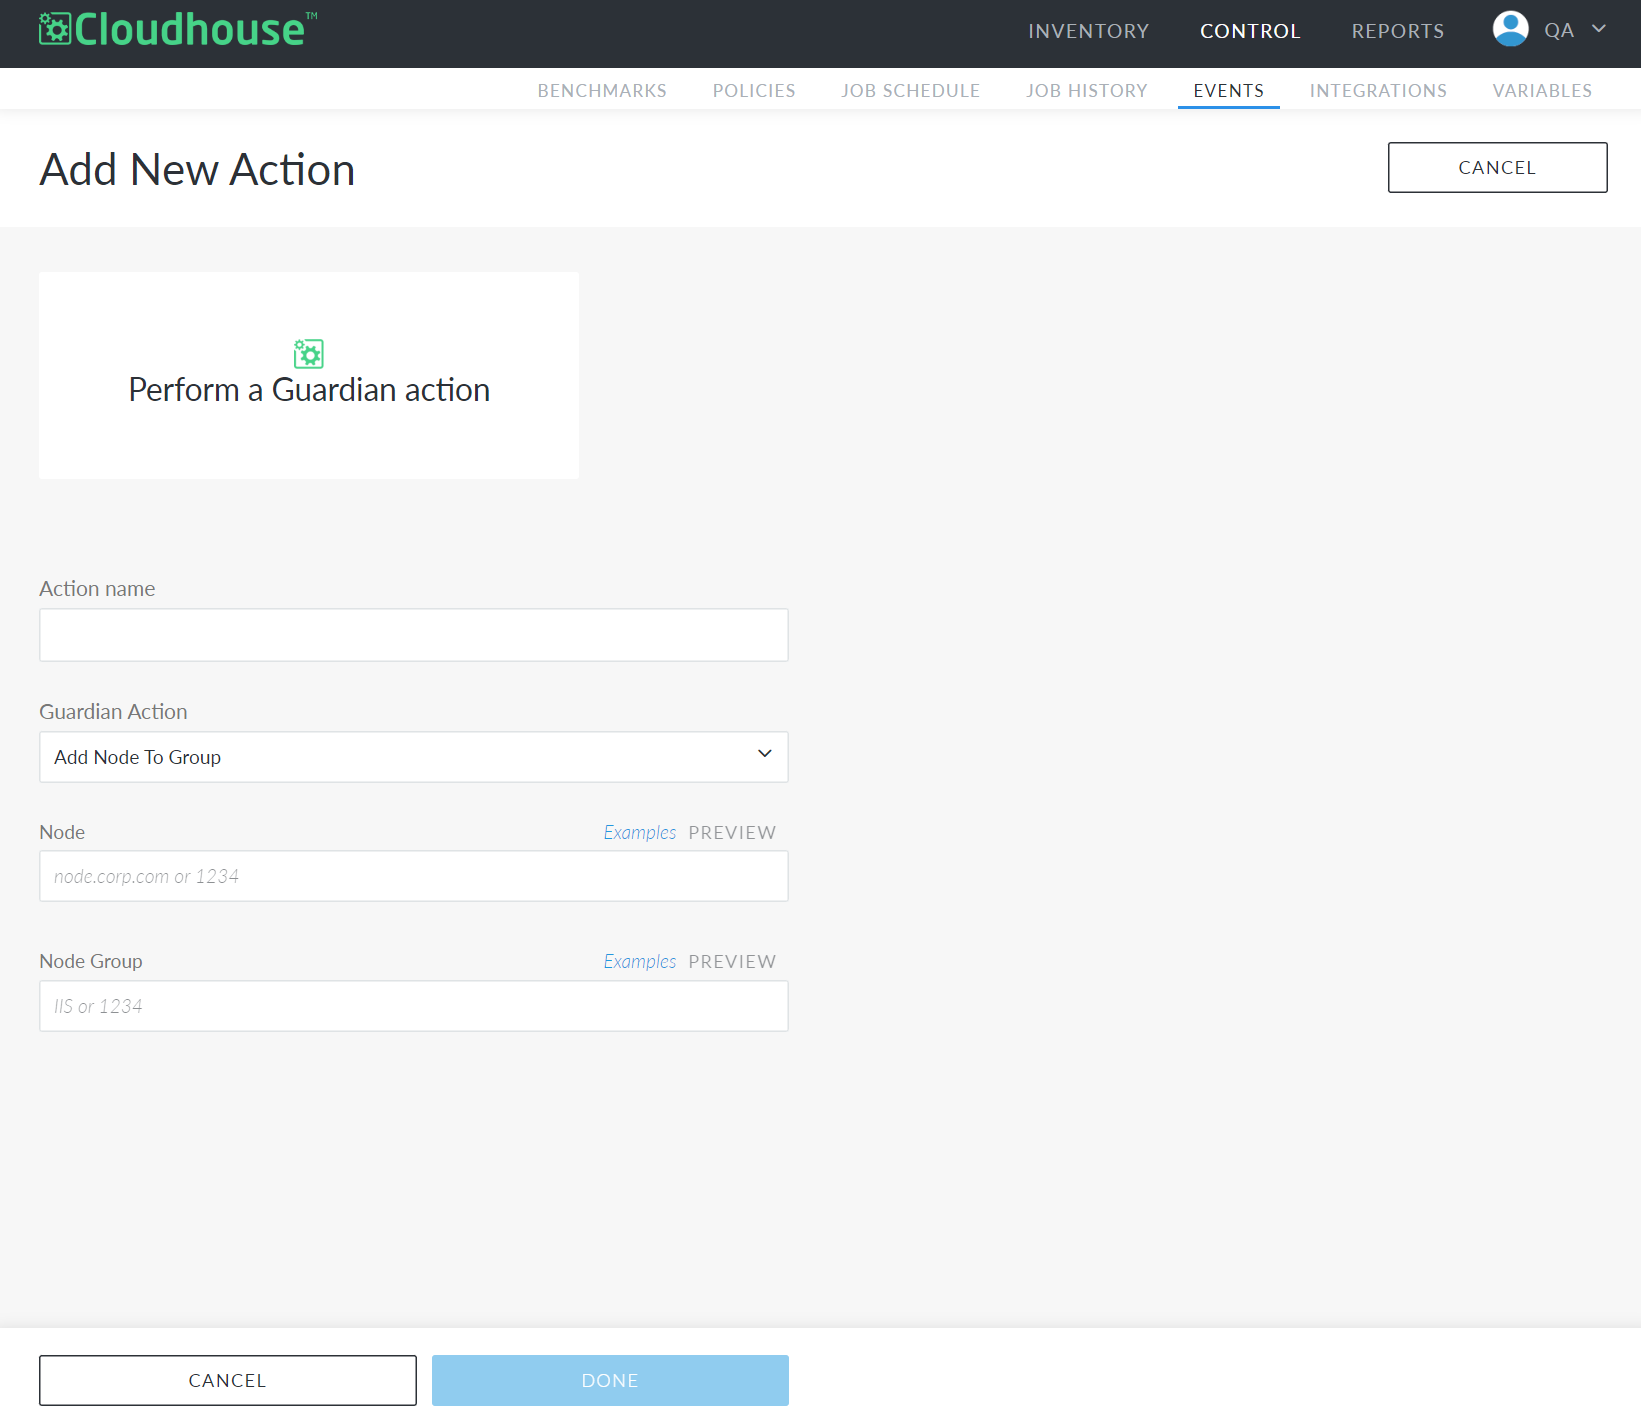
When configuring an Add Node to Group action, the following fields are displayed:
| Setting | Description |
|---|---|
| Node field | The ID of the node you want to add to a group. In this field, you can input the variable {{ node_id }} to automatically use the ID of the node that triggered the action. |
| Node Group field | The ID of the node group you want to add the node to. You can find a node group's ID in the URL displayed when you are viewing that node group from the monitored tab. For example, in the URL https://guardian-test.cloudhouse.com/node_groups#/1234?state=index, '1234' is the node group ID. |
Remove Node from Group
This action lets you automatically remove nodes from certain groups. For example, if a node is moved from one physical region to another, you may want to remove it from a location-specific node group.

When configuring a Remove Node from Group action, the following fields are displayed:
| Setting | Description |
|---|---|
| Node field | The ID of the node you want to remove from a group. In this field, you can input the variable {{ node_id }} to automatically use the ID of the node that triggered the action. |
| Node Group field | The ID of the node group you want to remove the node from. You can find a node group's ID in the URL displayed when you are viewing that node group from the Monitored tab. For example, in the URL https://guardian-test.cloudhouse.com/node_groups#/1234?state=index, '1234' is the node group ID. |
Delete Node
This action lets you automatically delete nodes if they are no longer needed. For example, if a node is no longer scanning or has failed a series of consecutive scans, you can configure this action to delete it from your inventory.
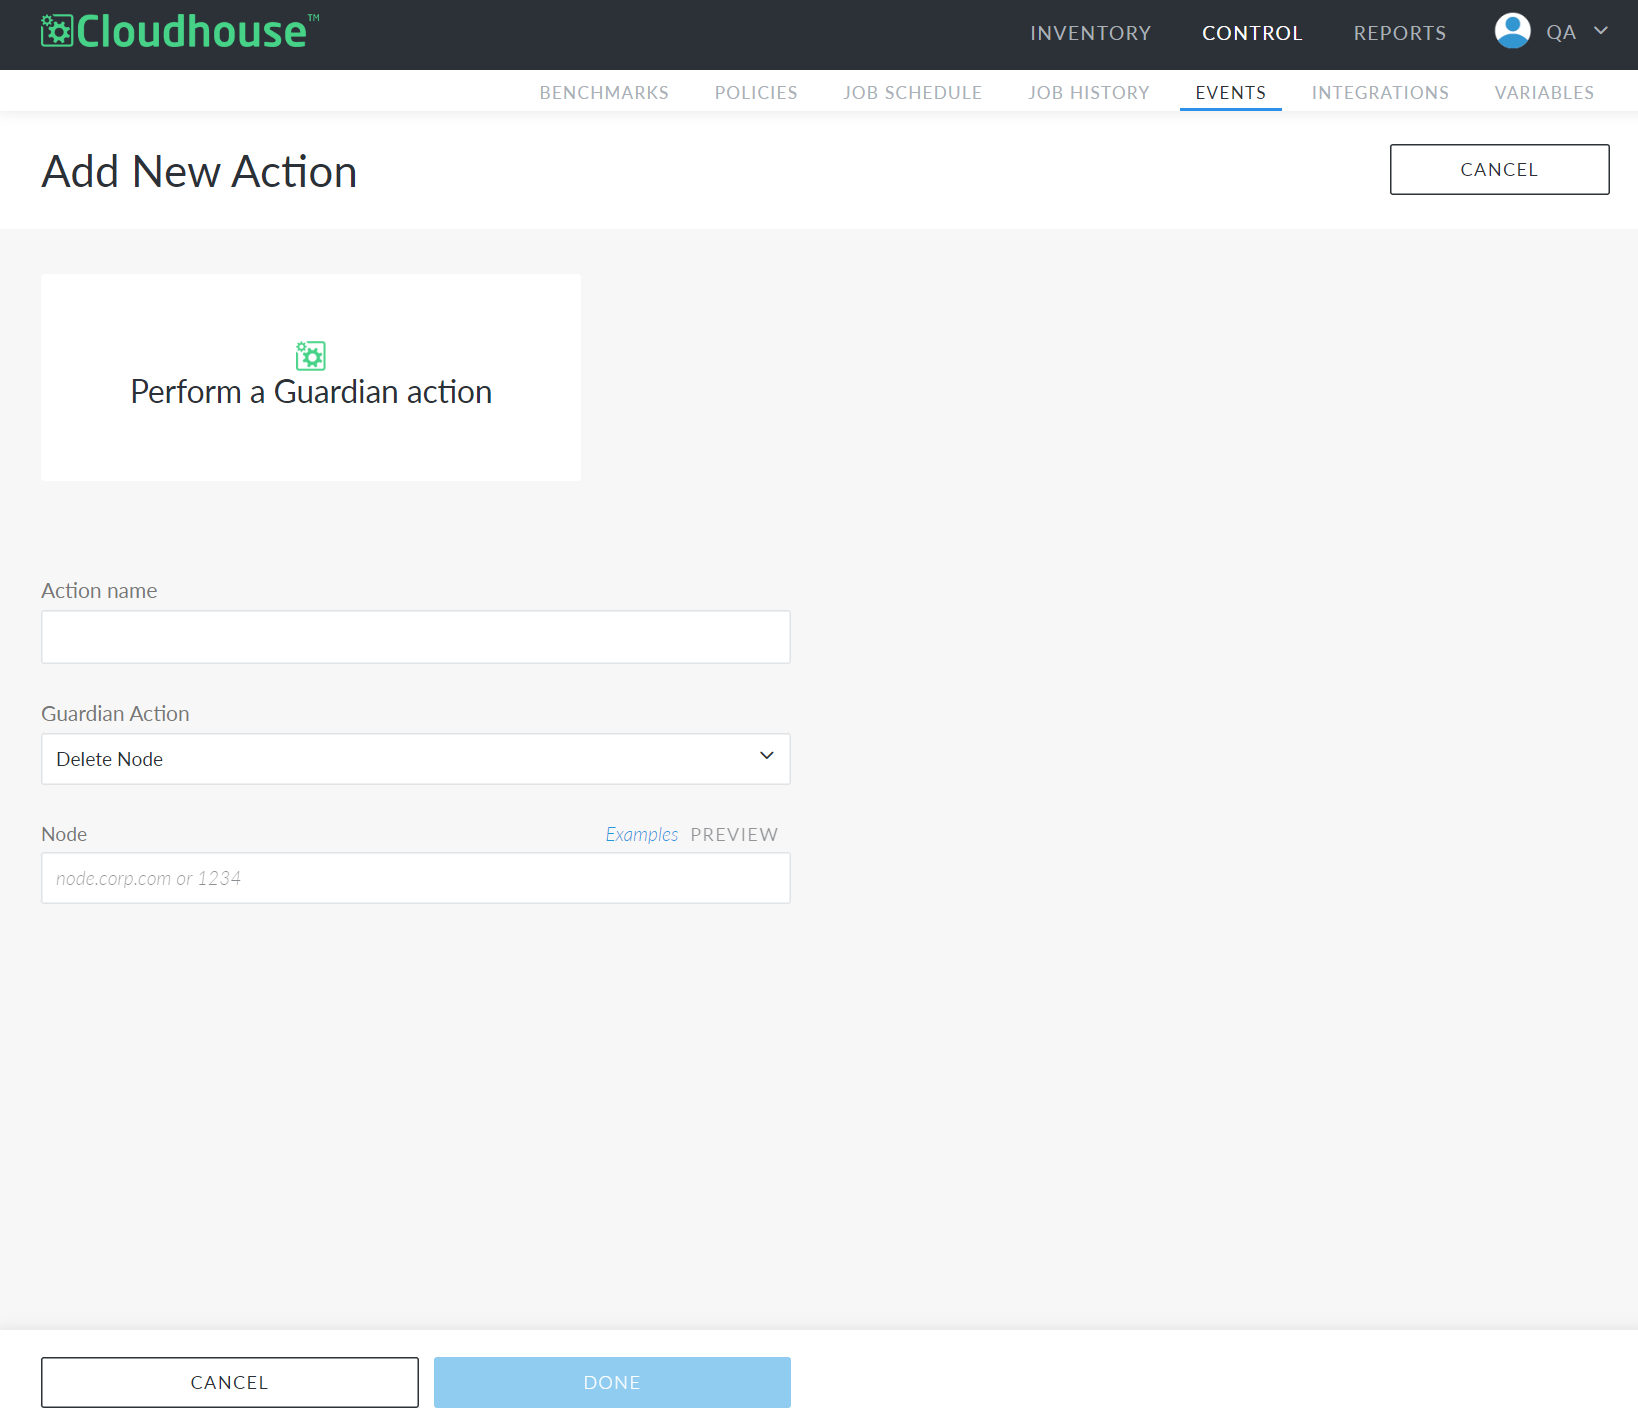
When configuring a Delete Node action, the following fields are displayed:
| Setting | Description |
|---|---|
| Node field | The ID of the node you want to delete. In this field, you can input the variable {{ node_id }} to automatically use the ID of the node that triggered the action. |
Move Node to Environment
This action lets you automatically move nodes from one environment to another. For example, if a node repeatedly fails scans or causes other issues, this action can move it from your production environment to an environment you have set up that is dedicated to investigating troublesome nodes.
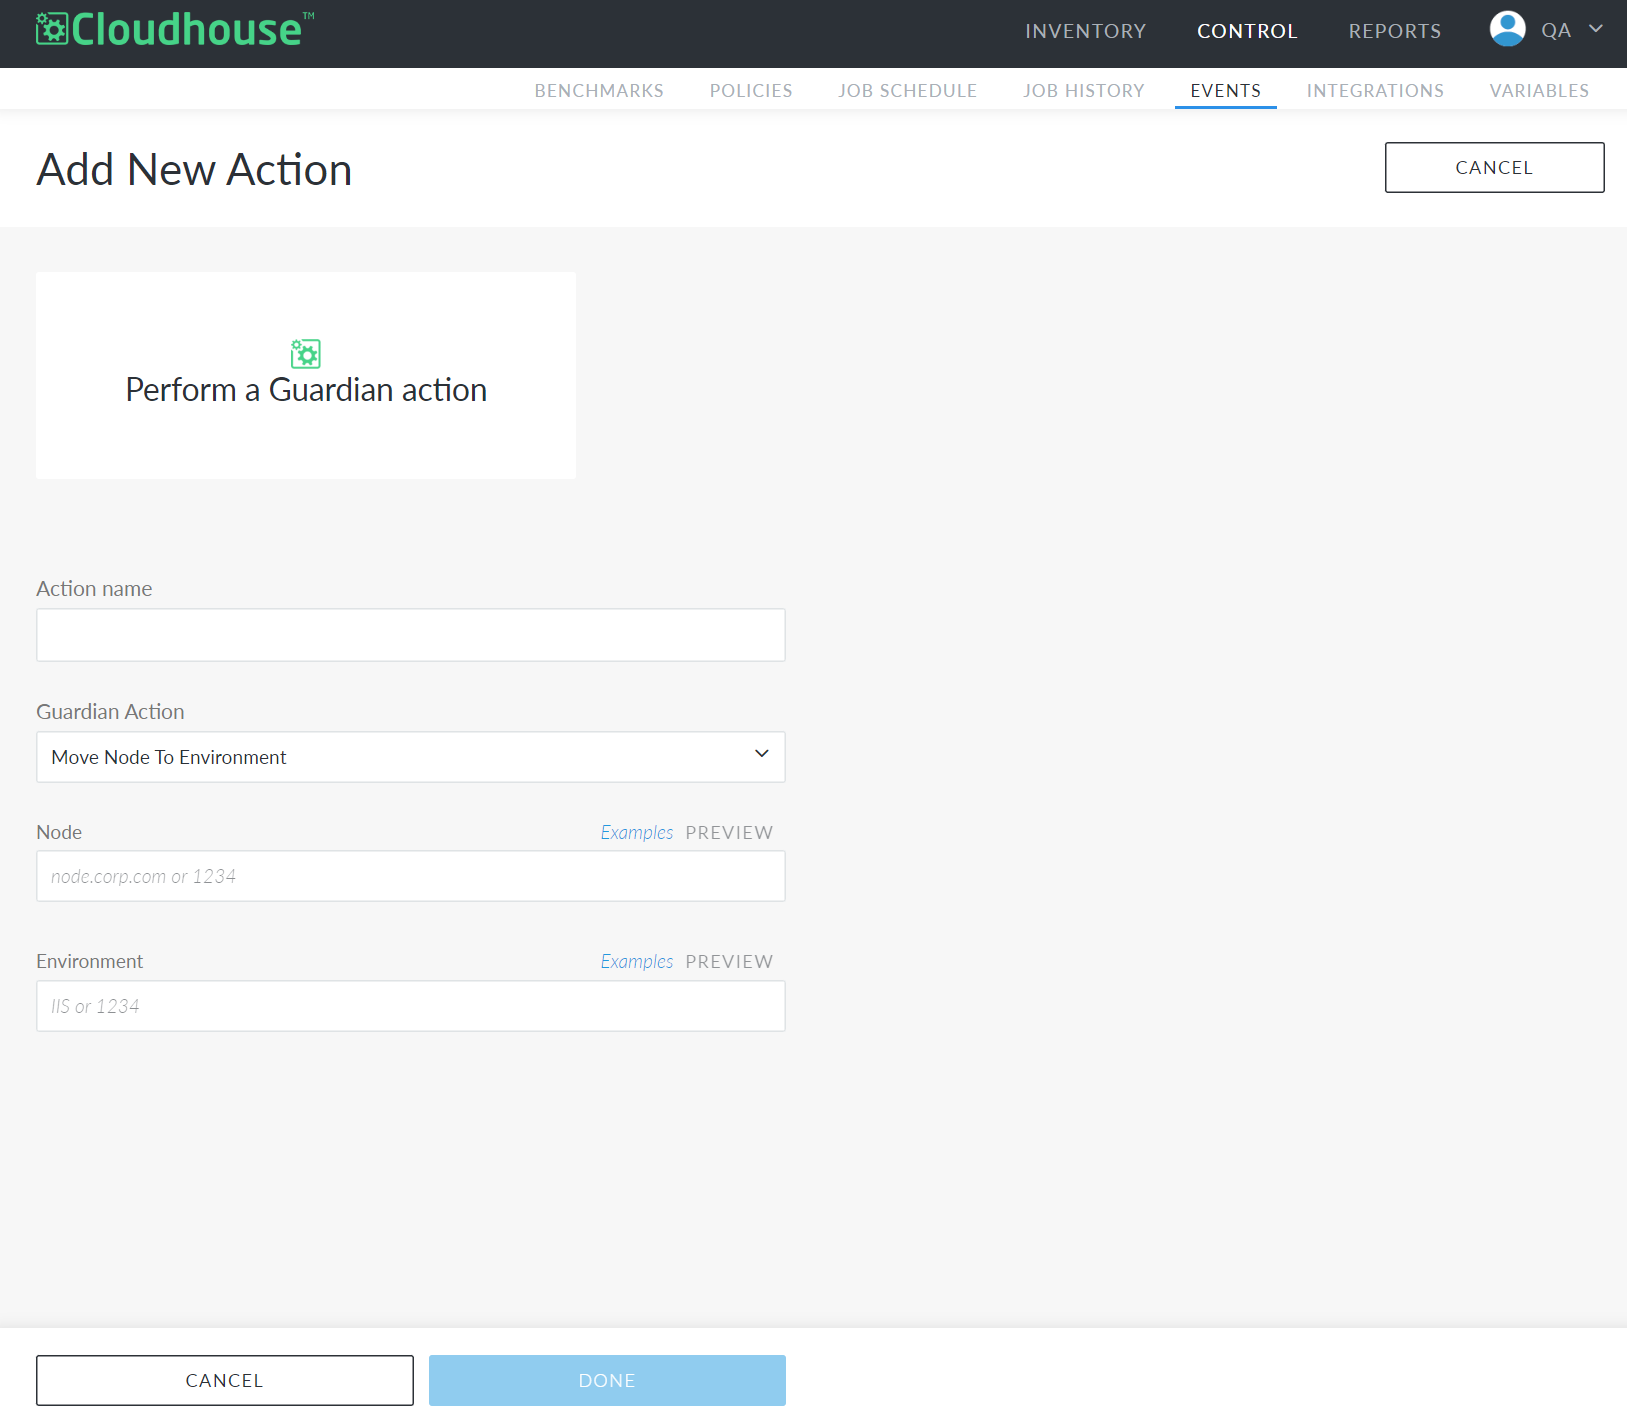
When configuring a Move Node to Environment action, the following fields are displayed:
| Setting | Description |
|---|---|
| Node field | The ID of the node you want to move. In this field, you can input the variable {{ node_id }} to automatically use the ID of the node that triggered the action. |
| Environment field | The name or ID of the environment you want to move the node to. You can find an environment's ID in the URL displayed when you are viewing that environment from the Monitored tab. For example, in the URL https://guardian-test.cloudhouse.com/node_groups#/environments/1234?state=index, '1234' is the environment ID. |
Start Node Scan
This action lets you automatically start a node scan. For example, if a specific change is detected within your Guardian instance that may pose a risk for a specific node (or nodes), this action can run a node scan immediately rather than waiting for the next scheduled scan.

When configuring a Start Node Scan action, the following fields are displayed:
| Setting | Description |
|---|---|
| Node field | The ID of the node you want to scan. In this field, you can input the variable {{ node_id }} to automatically use the ID of the node that triggered the action. |
Start Node Group Scan
This action lets you automatically start a node group scan. For example, if a specific change is detected within your Guardian instance that may pose a risk for a specific node group, this action can run a scan of the node group immediately rather than waiting for the next scheduled scan.

When configuring a Start Node Group Scan action, the following fields are displayed:
| Setting | Description |
|---|---|
| Node Group field |
The ID of the node group you want to scan. In this field, you can input the variable |
Start Environment Scan
This action lets you automatically start a scan of an environment. For example, if a specific change is detected within your Guardian instance that may pose a risk to your inventory, this action can run a scan of your environment rather than waiting for the next scheduled scan.

When configuring a Start Environment Scan action, the following fields are displayed:
| Setting | Description |
|---|---|
| Environment field |
The ID of the environment you want to scan. In this field, you can input the variable |
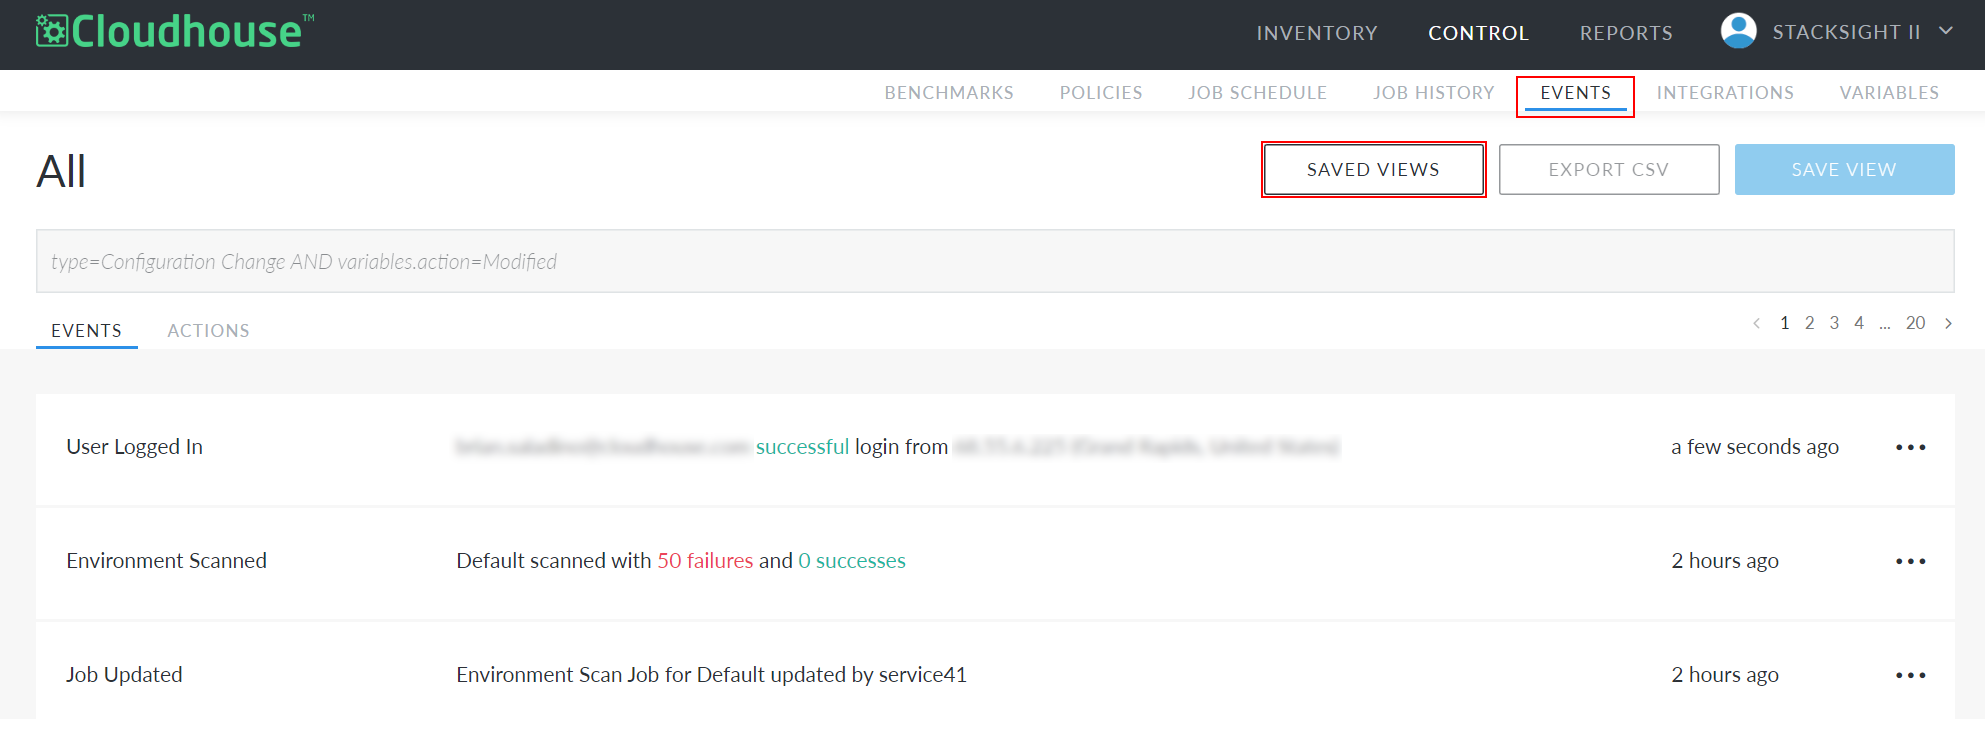
Add a Guardian Action
You can configure a new Guardian Action to be triggered by any saved view in your Guardian instance. Each saved view represents a specific event determined using a query on the Events page. The saved view you select during this configuration determines the corresponding event that triggers your new action. For more information, see Saved Views.
-
Click the Saved Views button at the top of the page. The Saved Views side panel is displayed.
-
Select the event you want to trigger your new action. The saved view for that event is displayed.
-
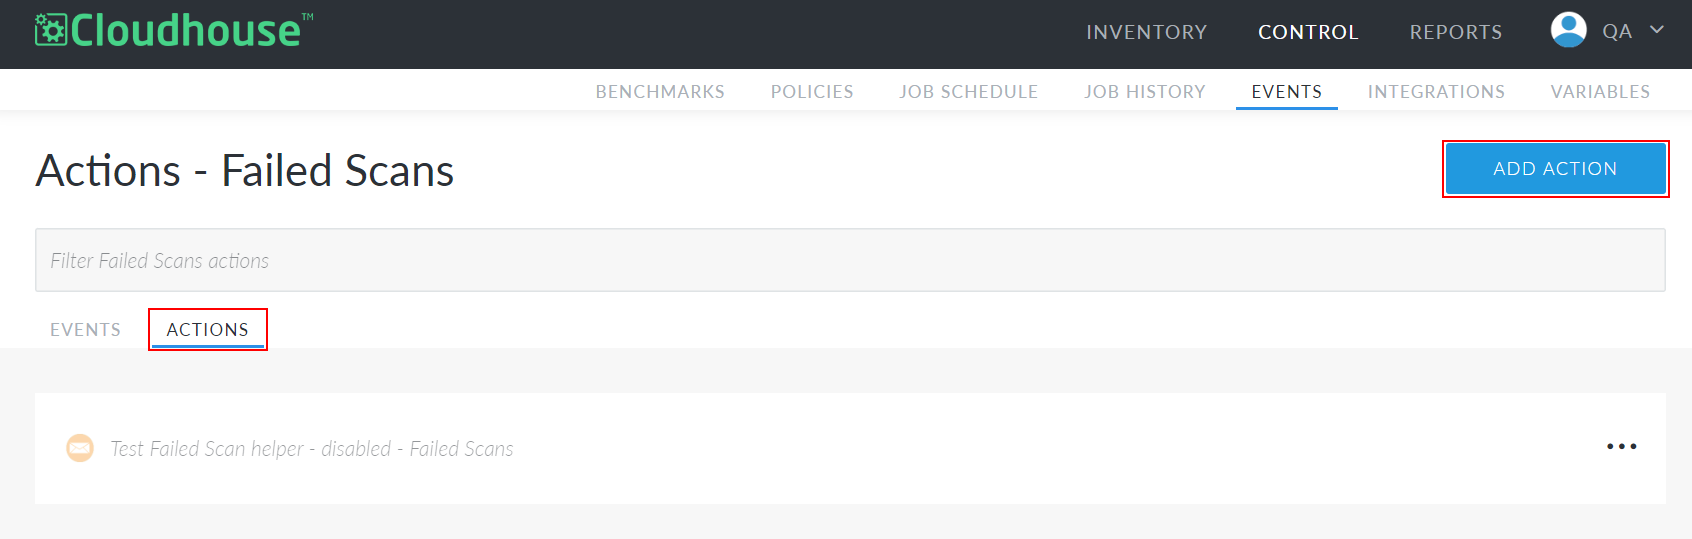
Click the Actions tab to display all existing actions configured for this event.
-
Click the Add Action button. The Add New Action page is displayed.
-
Click Perform a Guardian Action. The required fields are displayed.
-
Select an action from the Guardian Action drop-down.
-
Complete the provided fields.
Note: The fields provided depend on the Guardian Action you selected in the previous step. For information regarding each field and what it requires, see the for your selected action above.
-
Click Done.
Now, a confirmation dialog is displayed and you are redirected to the Actions tab for your selected saved view. Here, you can view your new action. To disable, edit, or test the action, click the Ellipsis ( ) and select the appropriate option.