Environments
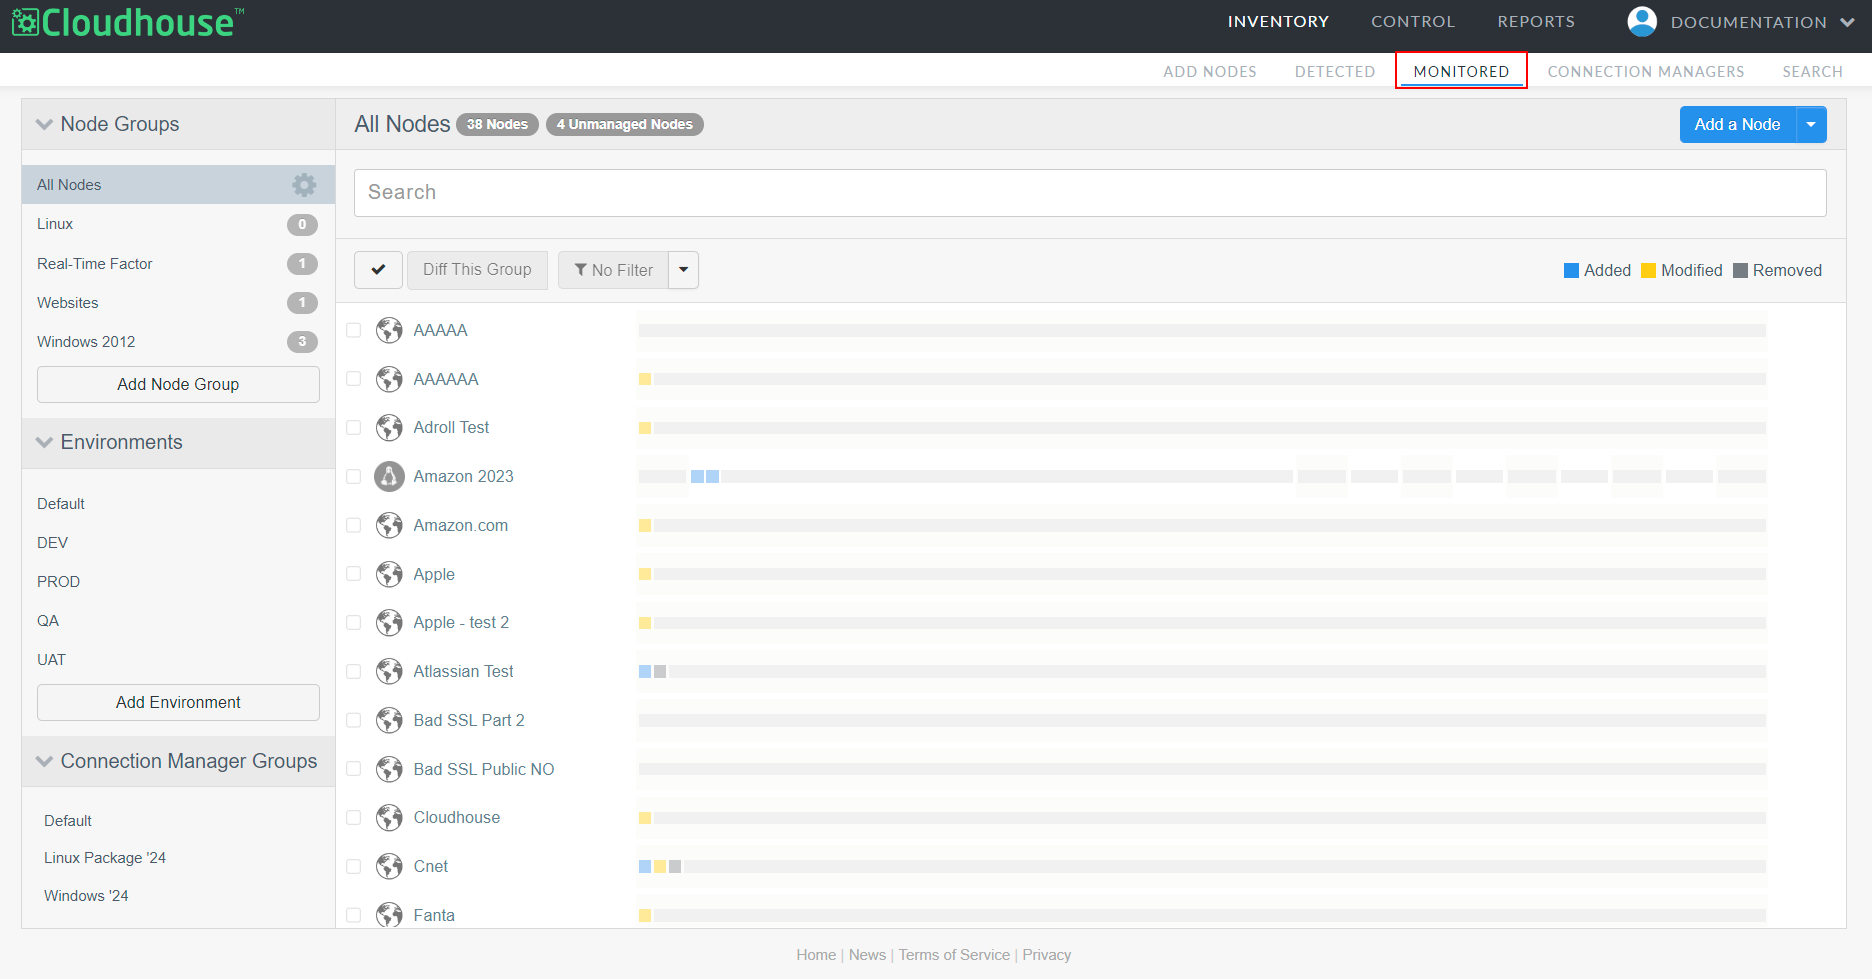
The Environments drop-down menu on the Monitored tab (
Note: The search functionality for Environments was introduced in V3.57.0 of the Guardian web application. For more information, see July 2025 Quarterly Release. To enable this feature, contact your Cloudhouse Representative.
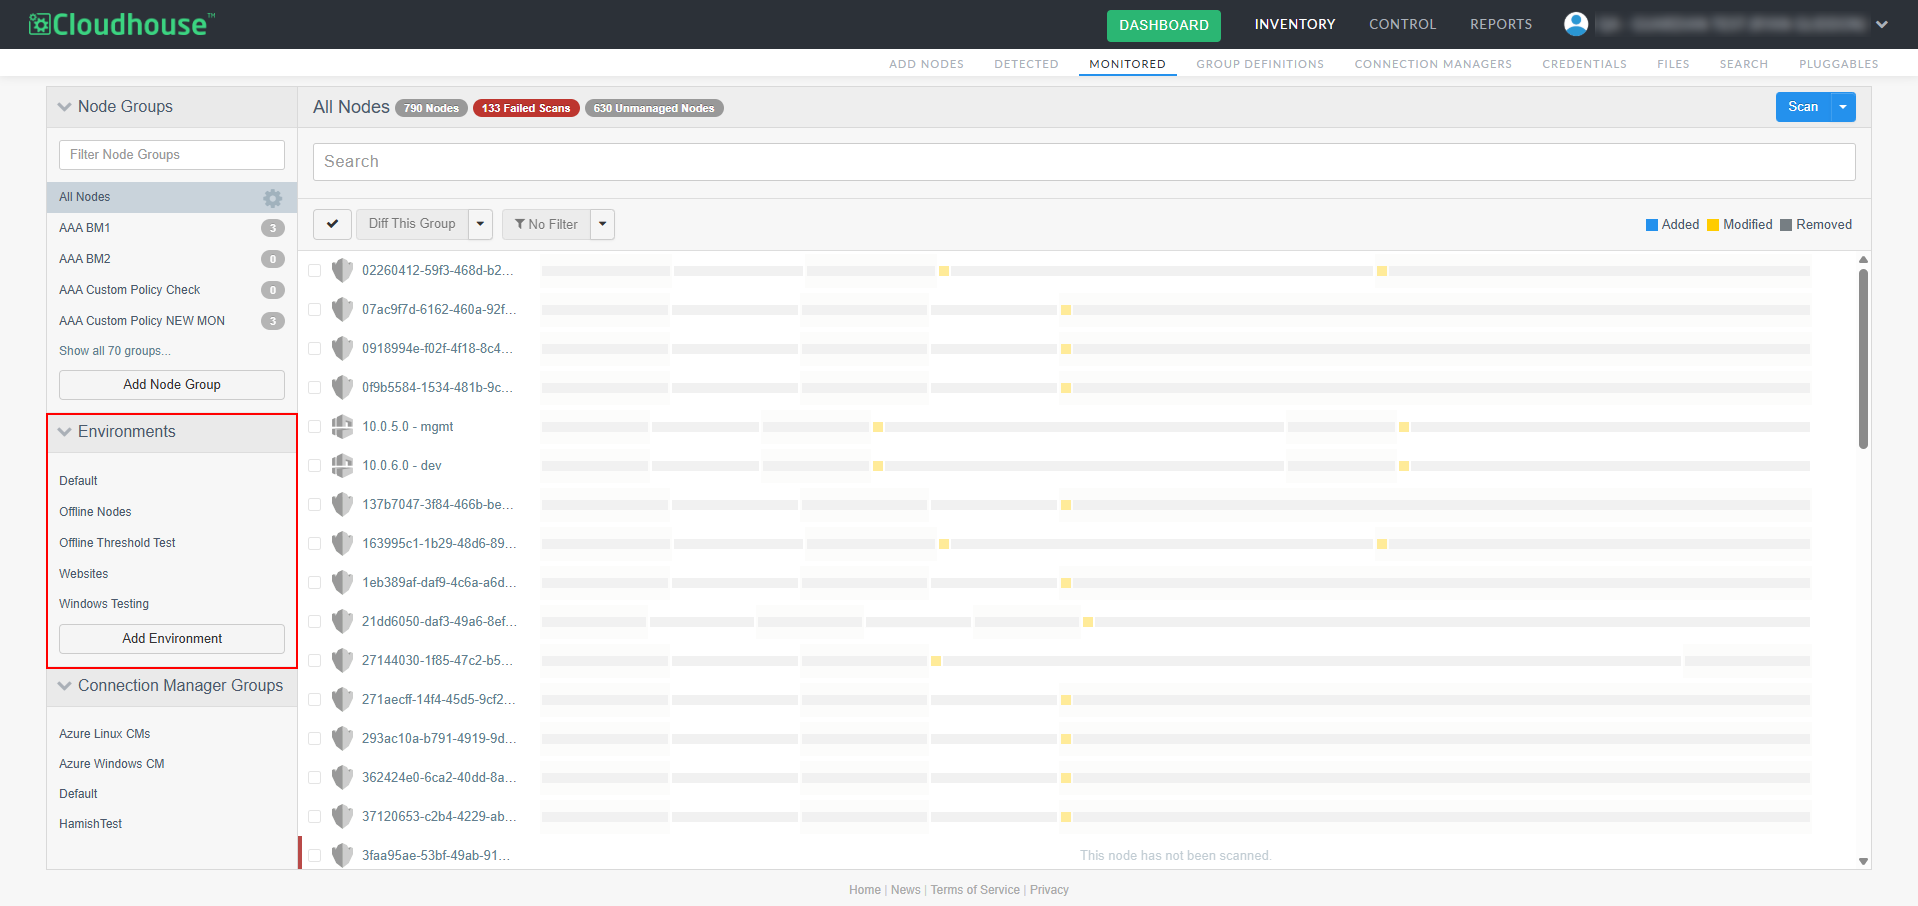
Whilst similar to Node Groups due to their organizational properties, a node can only belong to one environment, whereas a node can belong to multiple node groups. The main purpose of environments in Guardian is to organize your nodes at the highest level; you do not need to apply policies or benchmarks, only ensure that your nodes are organized into the correct environment. Cloudhouse advise utilizing multiple environments to make the most of their organizational properties, as it is the easiest organizational unit to track and schedule node scans for. For more information on how to schedule a node scan job, see Scan – Job Type.
Select an environment from the Environments drop-down menu to display each of the nodes that are currently assigned to it. In the example below, the 'Offline Threshold Test' environment has been selected.

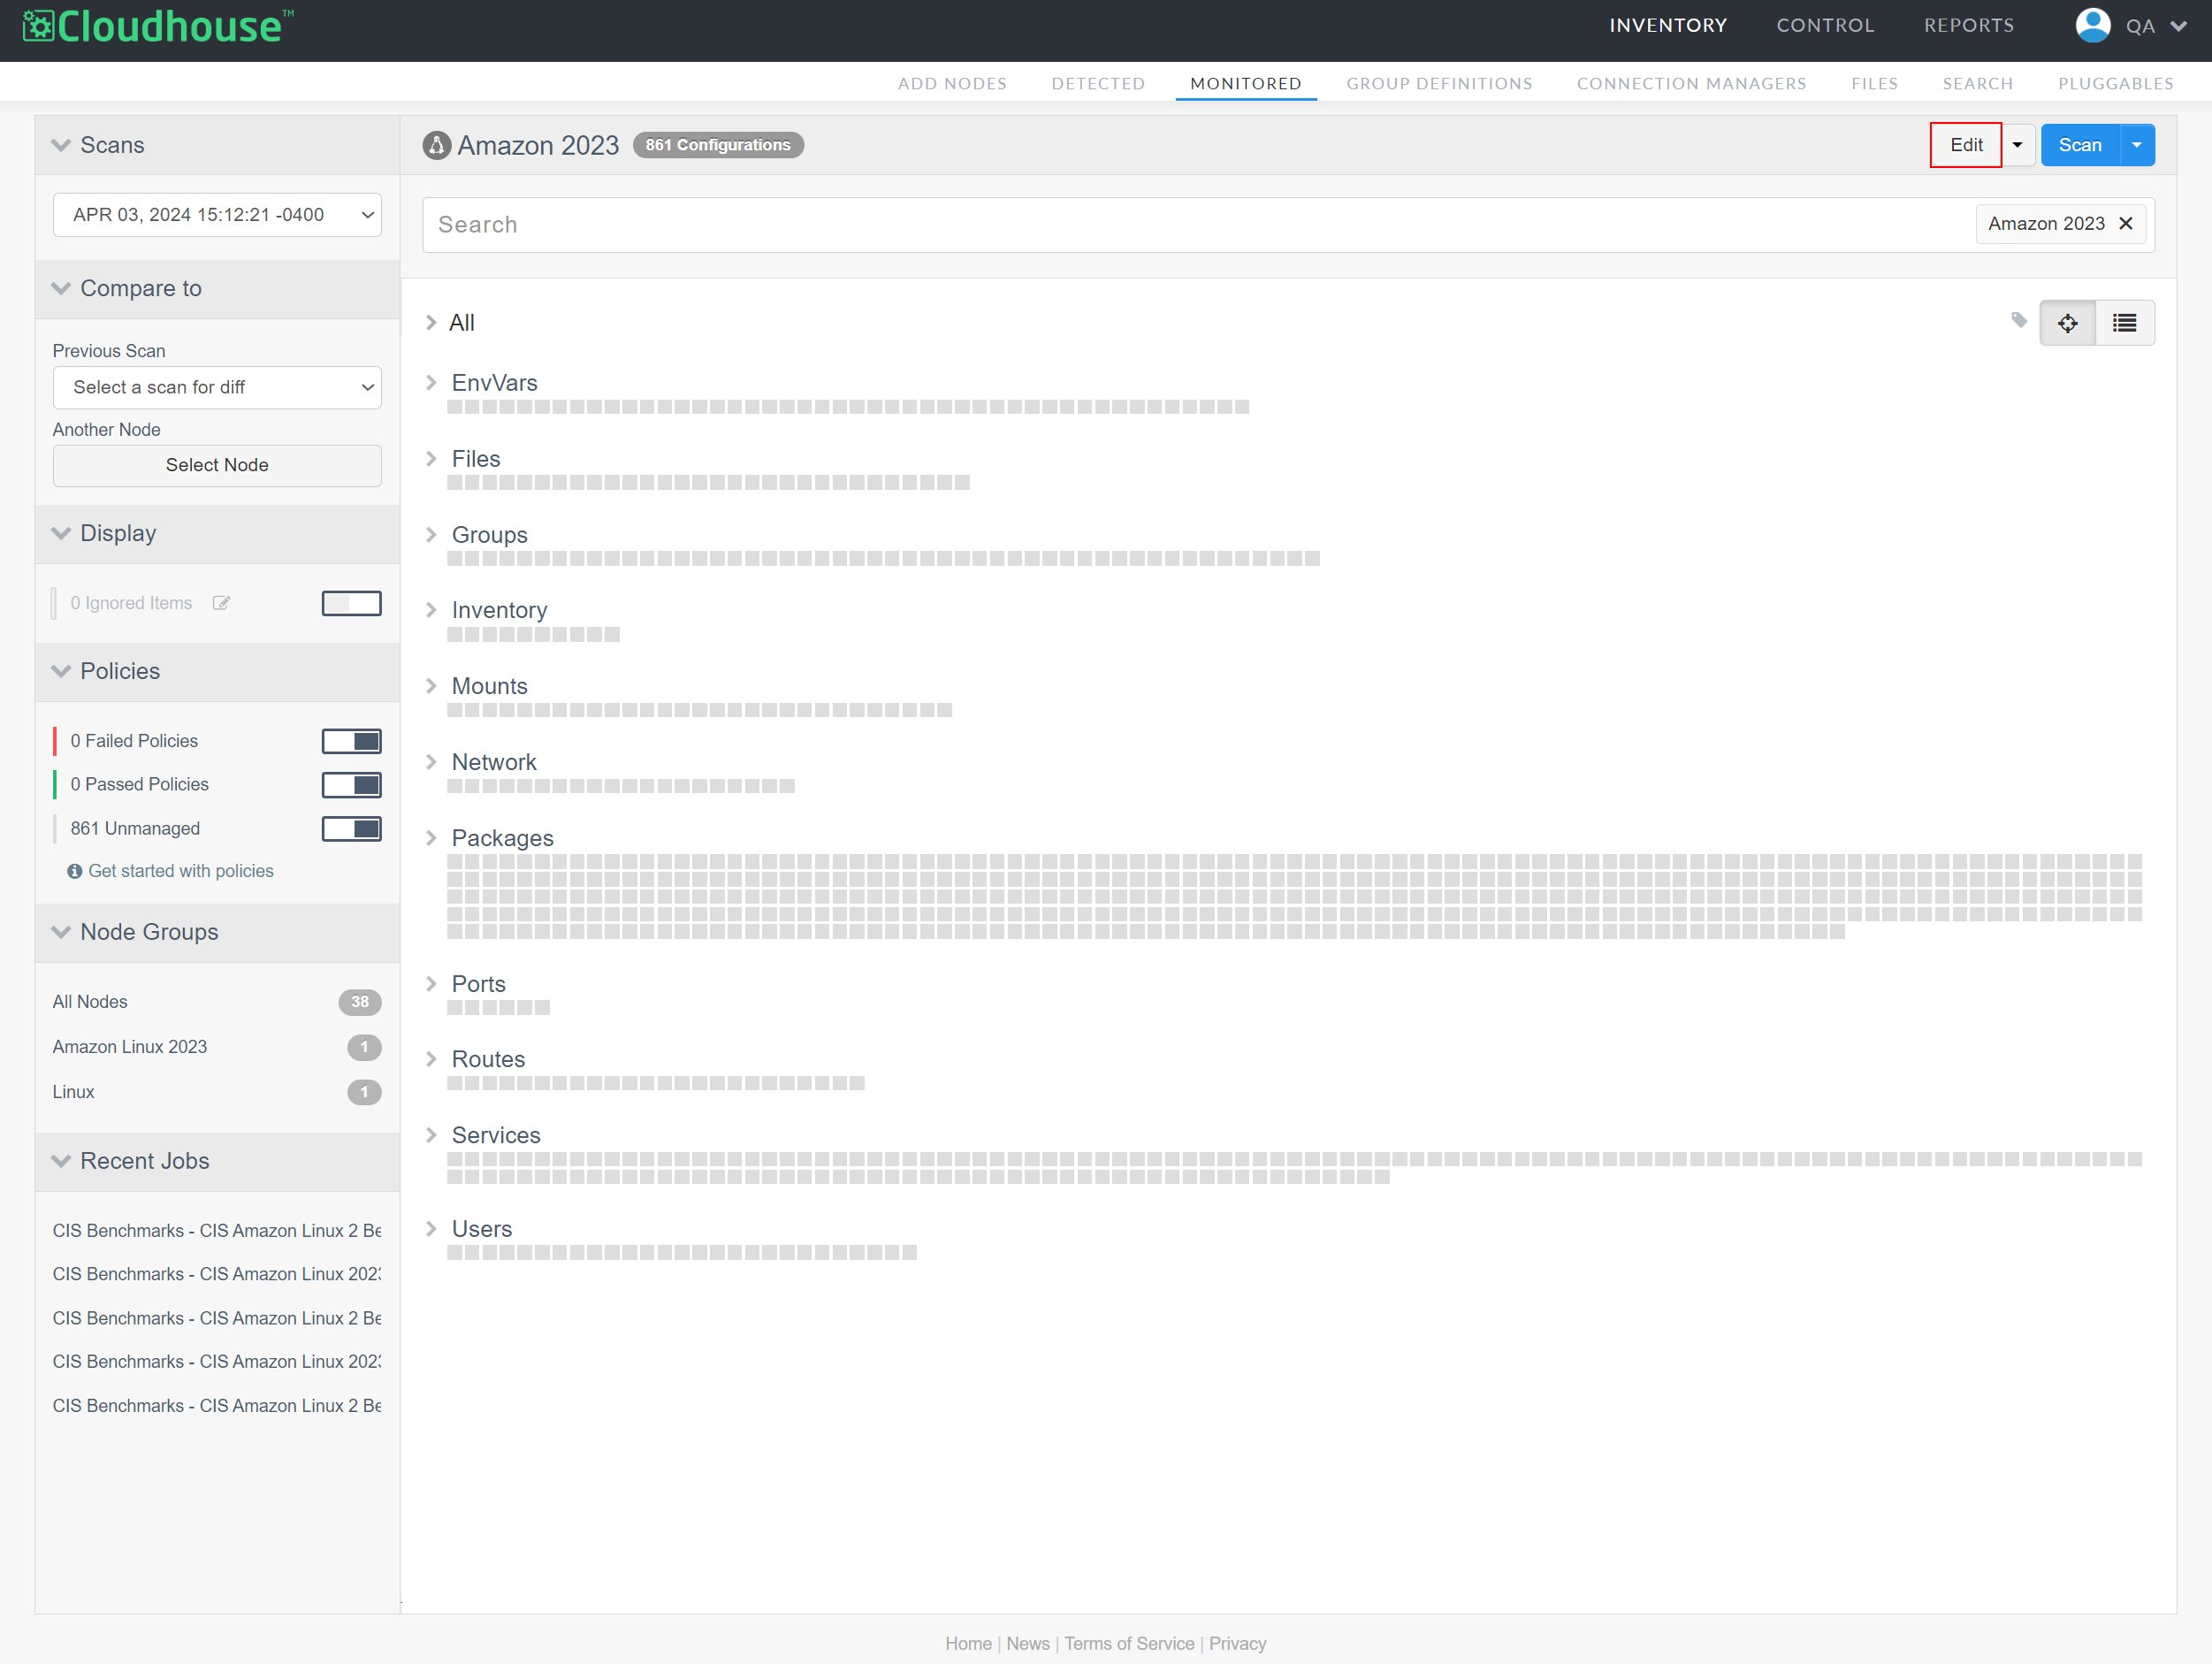
Each node within the selected environment has a checkbox that facilitates multi-select functionality. Here, you can select multiple nodes using the checkboxes to edit, scan, delete, or difference the scan results of the selected nodes. For more information on the various options available on this page, see Multi-Select Functionality. Alternatively, you can click the Settings button ( ) to display the following options:
-
Edit – Option to edit the environment's settings. If selected, the Edit Environment page is displayed. For more information on this page, see Edit Environment.
-
Delete – Option to permanently delete the environment from your Guardian instance. If selected, a confirmation dialog is displayed. Click OK to confirm the action.
Tip: You can only delete an environment that does not contain any nodes. To delete an environment, you first need to reassign each of the contained nodes to another environment. For more information on how to do this, see Assign Nodes to an Environment below.
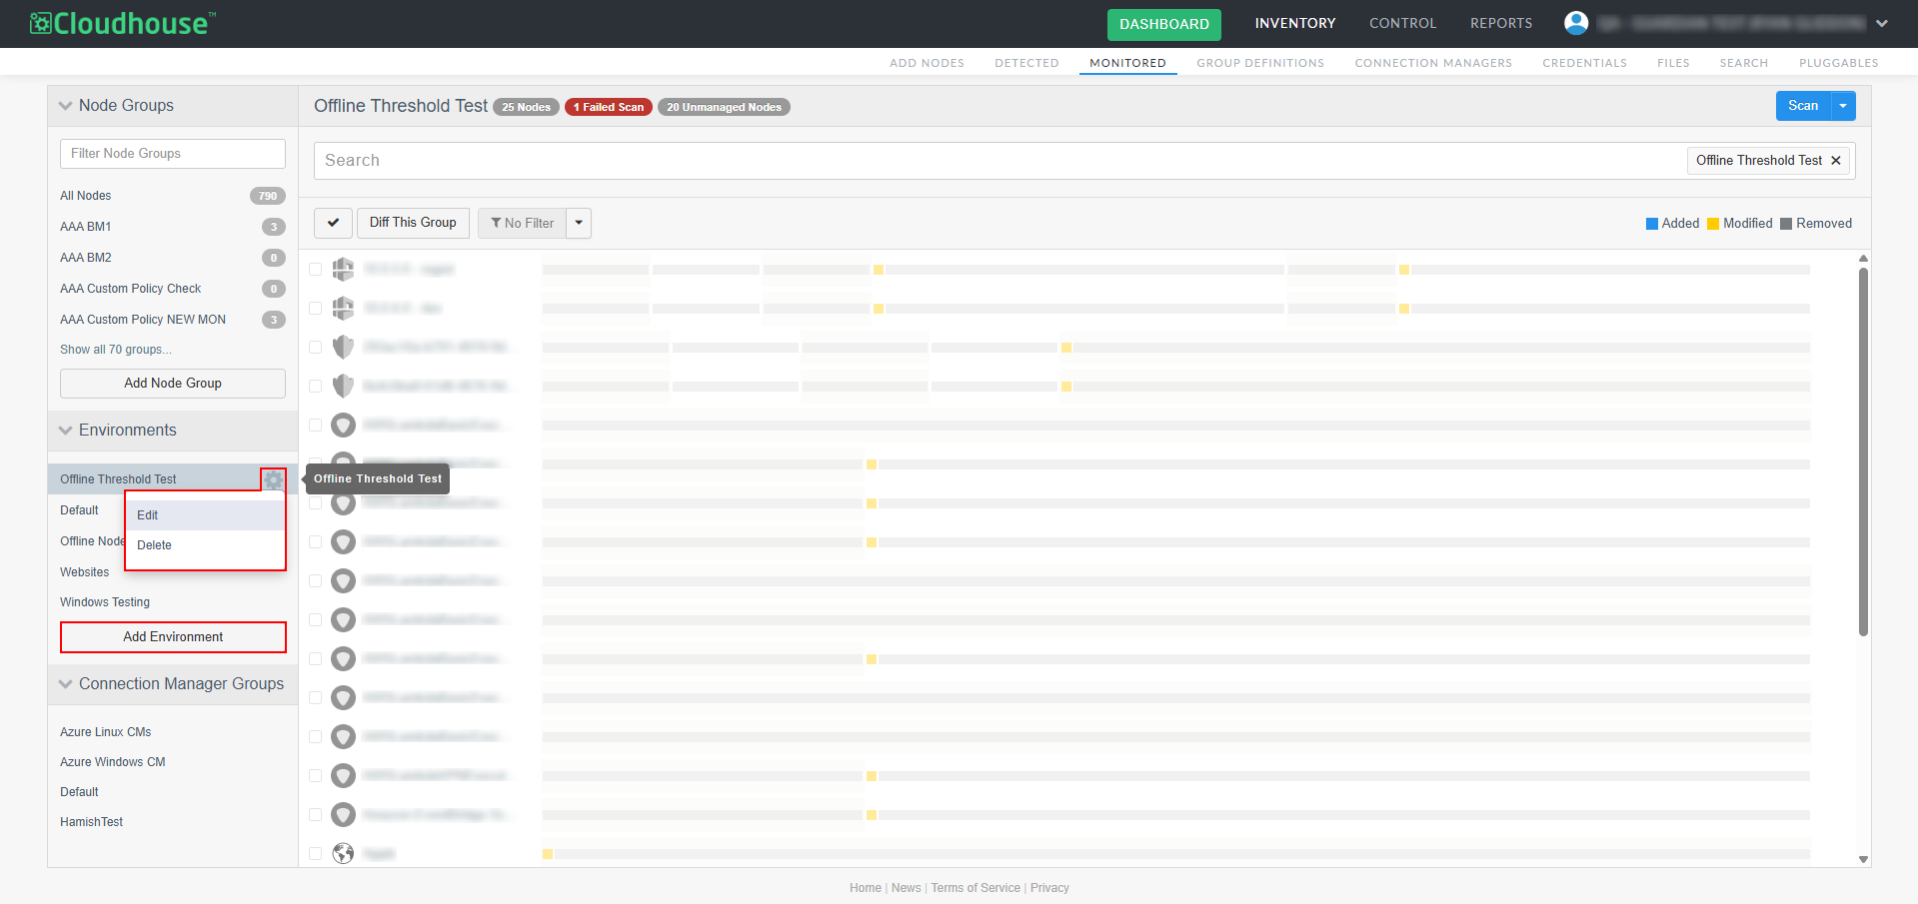
Additionally, you can click the Add Environment button to create a new environment, see Add Environment for more information on how to populate each field.
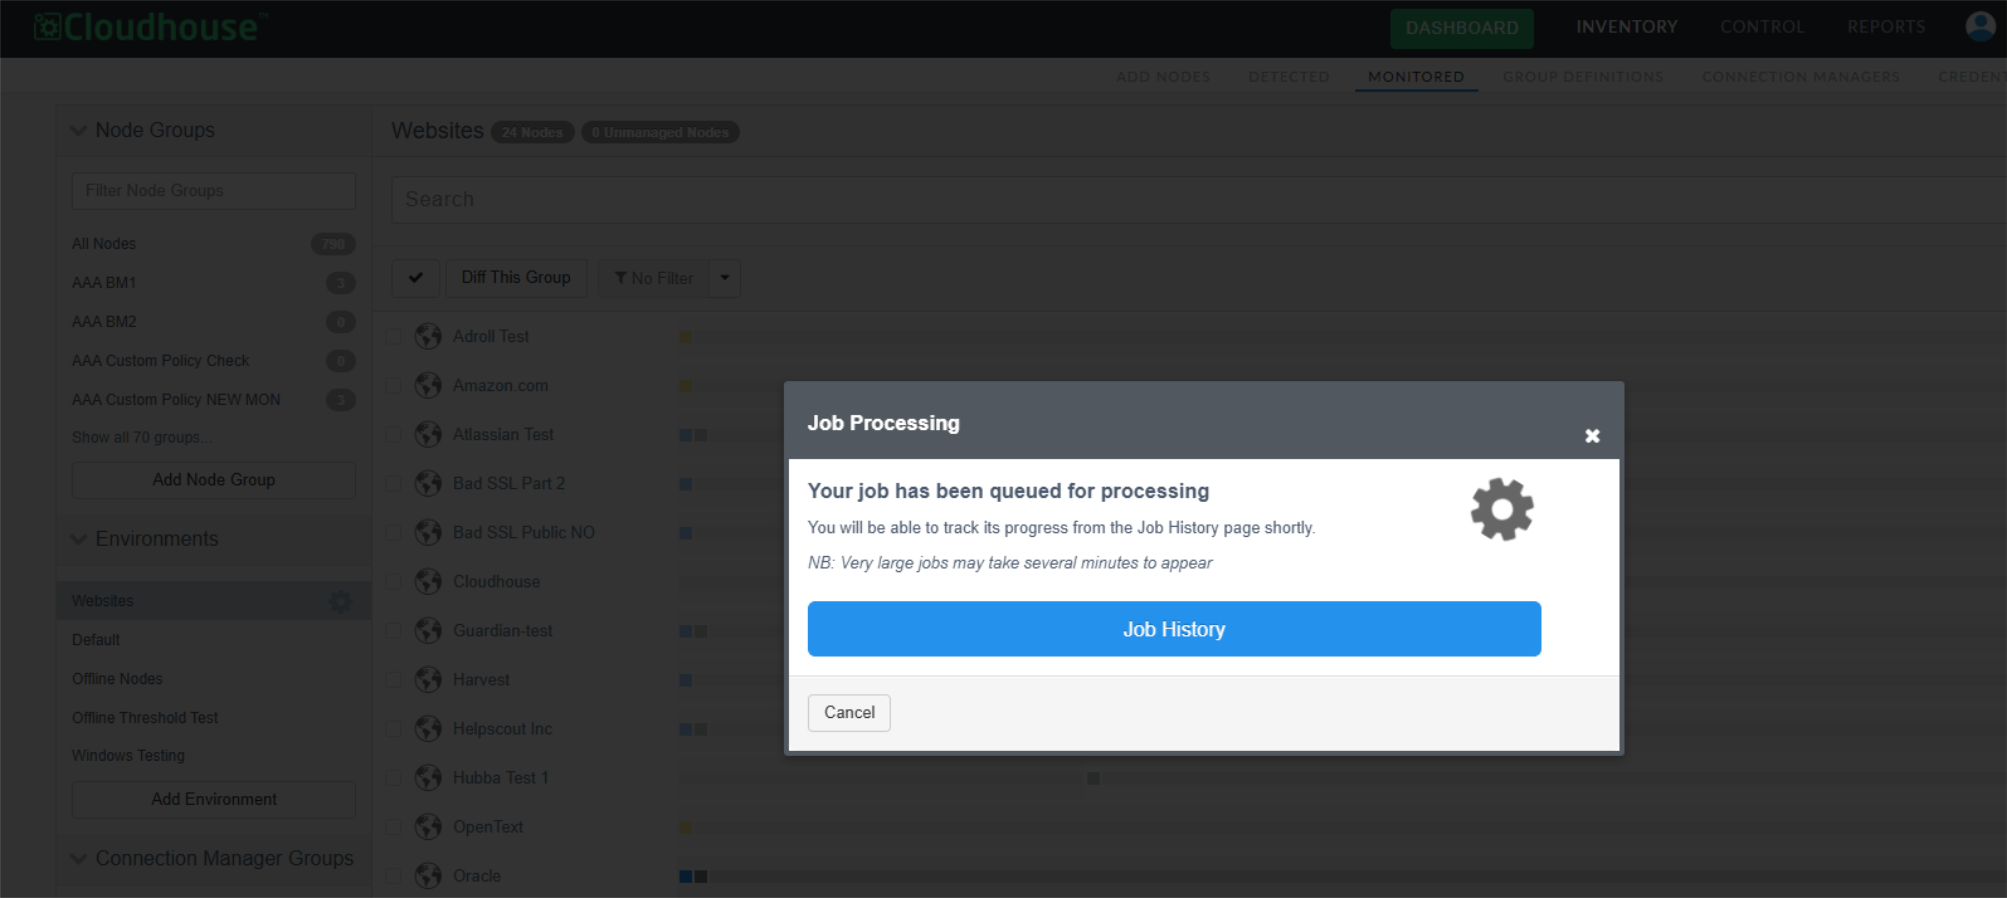
Environment Scan
With an environment selected, you can trigger a manual scan of each of the nodes contained within it by clicking the Scan button. If selected, the Job Processing dialog is displayed. Node scans can take anywhere from 5 seconds to 3 minutes depending on the complexity of the node, the operating system type and the network quality between the Guardian appliance and the node itself.
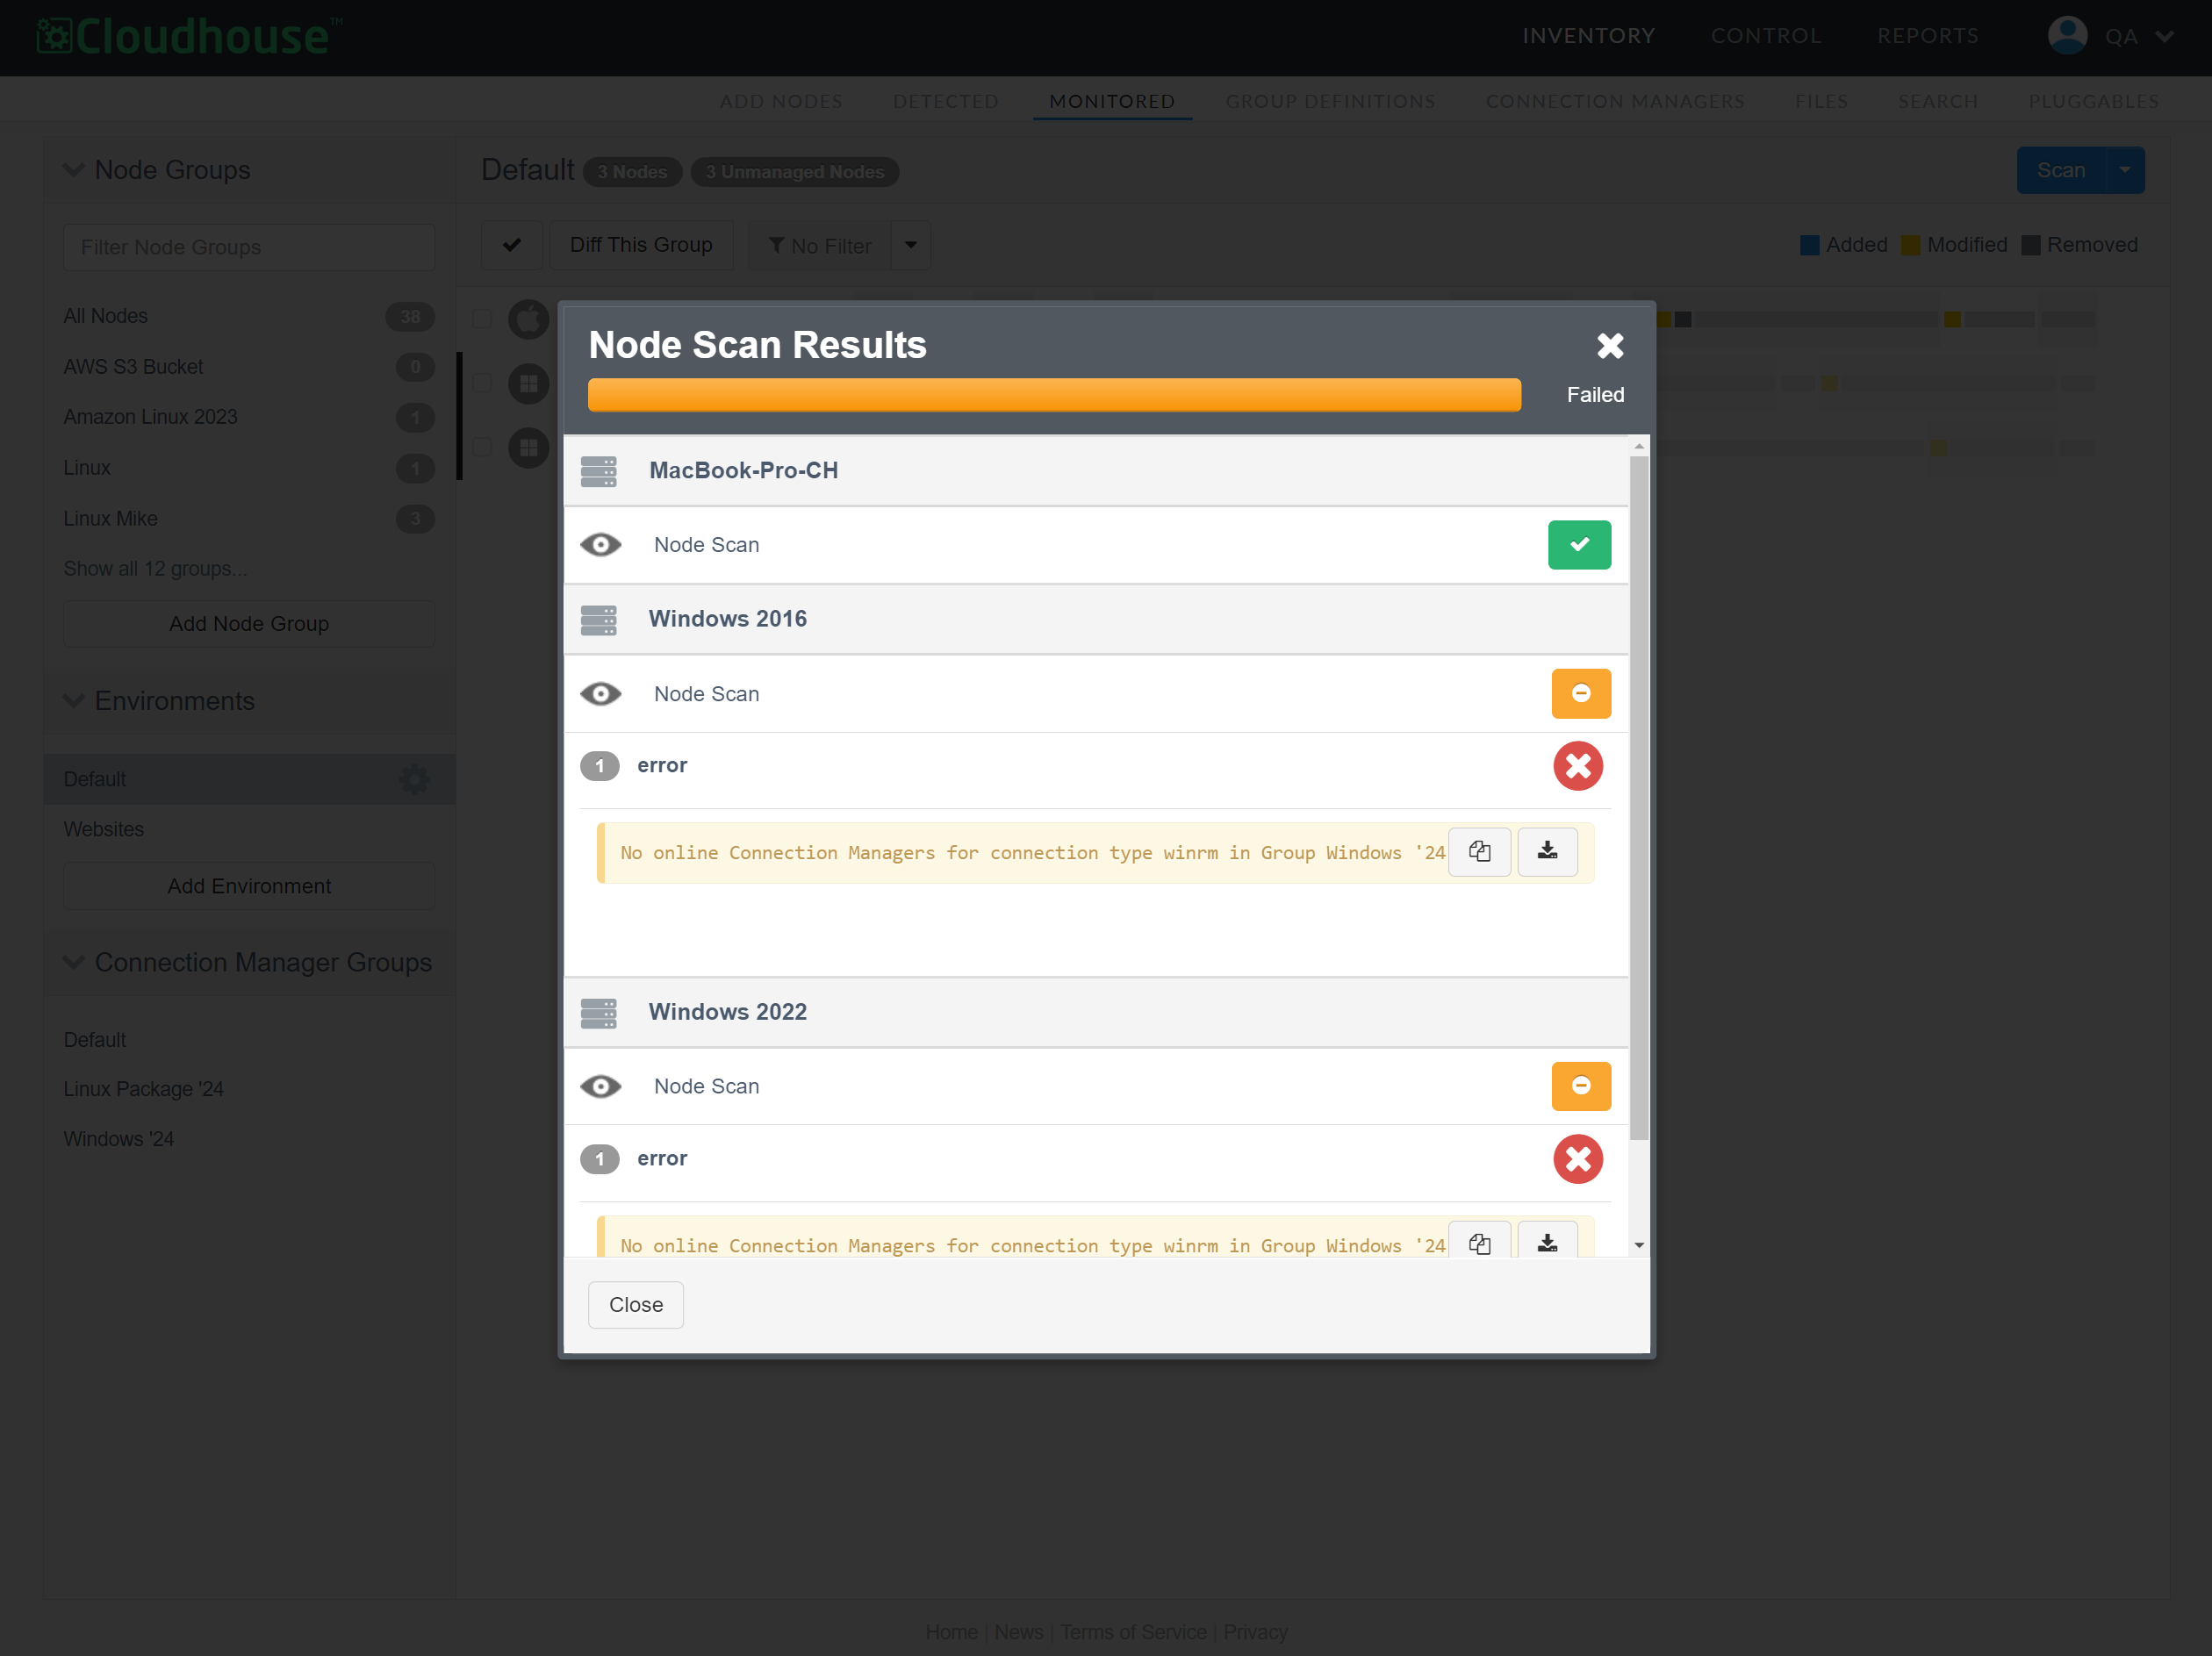
Once complete, the Node Scan Results dialog is displayed. Here, you can access information about the nodes, including whether any errors were detected during the scan. To access the test log for the node, click anywhere on the node's row. You can use the information displayed here, or within the test log, to troubleshoot any configuration errors preventing your nodes from being scanned.
Note: Alternatively, you can schedule a recurring node scan job. For more information, see Scan – Job Type.
Assign Nodes to an Environment
Once you have set up your environments, you can begin adding nodes. The easiest way to add nodes to your environment is to set node rules within the environment's settings, see Node Rules below for more information on how node rules work. To add nodes rules to an existing environment, see Environments. However, you can also manually assign individual nodes to a different environment by editing the node's settings. This can be useful in scenarios where multiple environments have the same node rule(s) set and you need to override the environment a node has been assigned to.
To manually assign a node to a different environment, complete the following steps:
-
In the Monitored tab, select the node(s) that you want to assign to a different environment.
Note: You can select a node from any of the drop-down menus in the Monitored tab. For example, Node Groups or Environments.
-
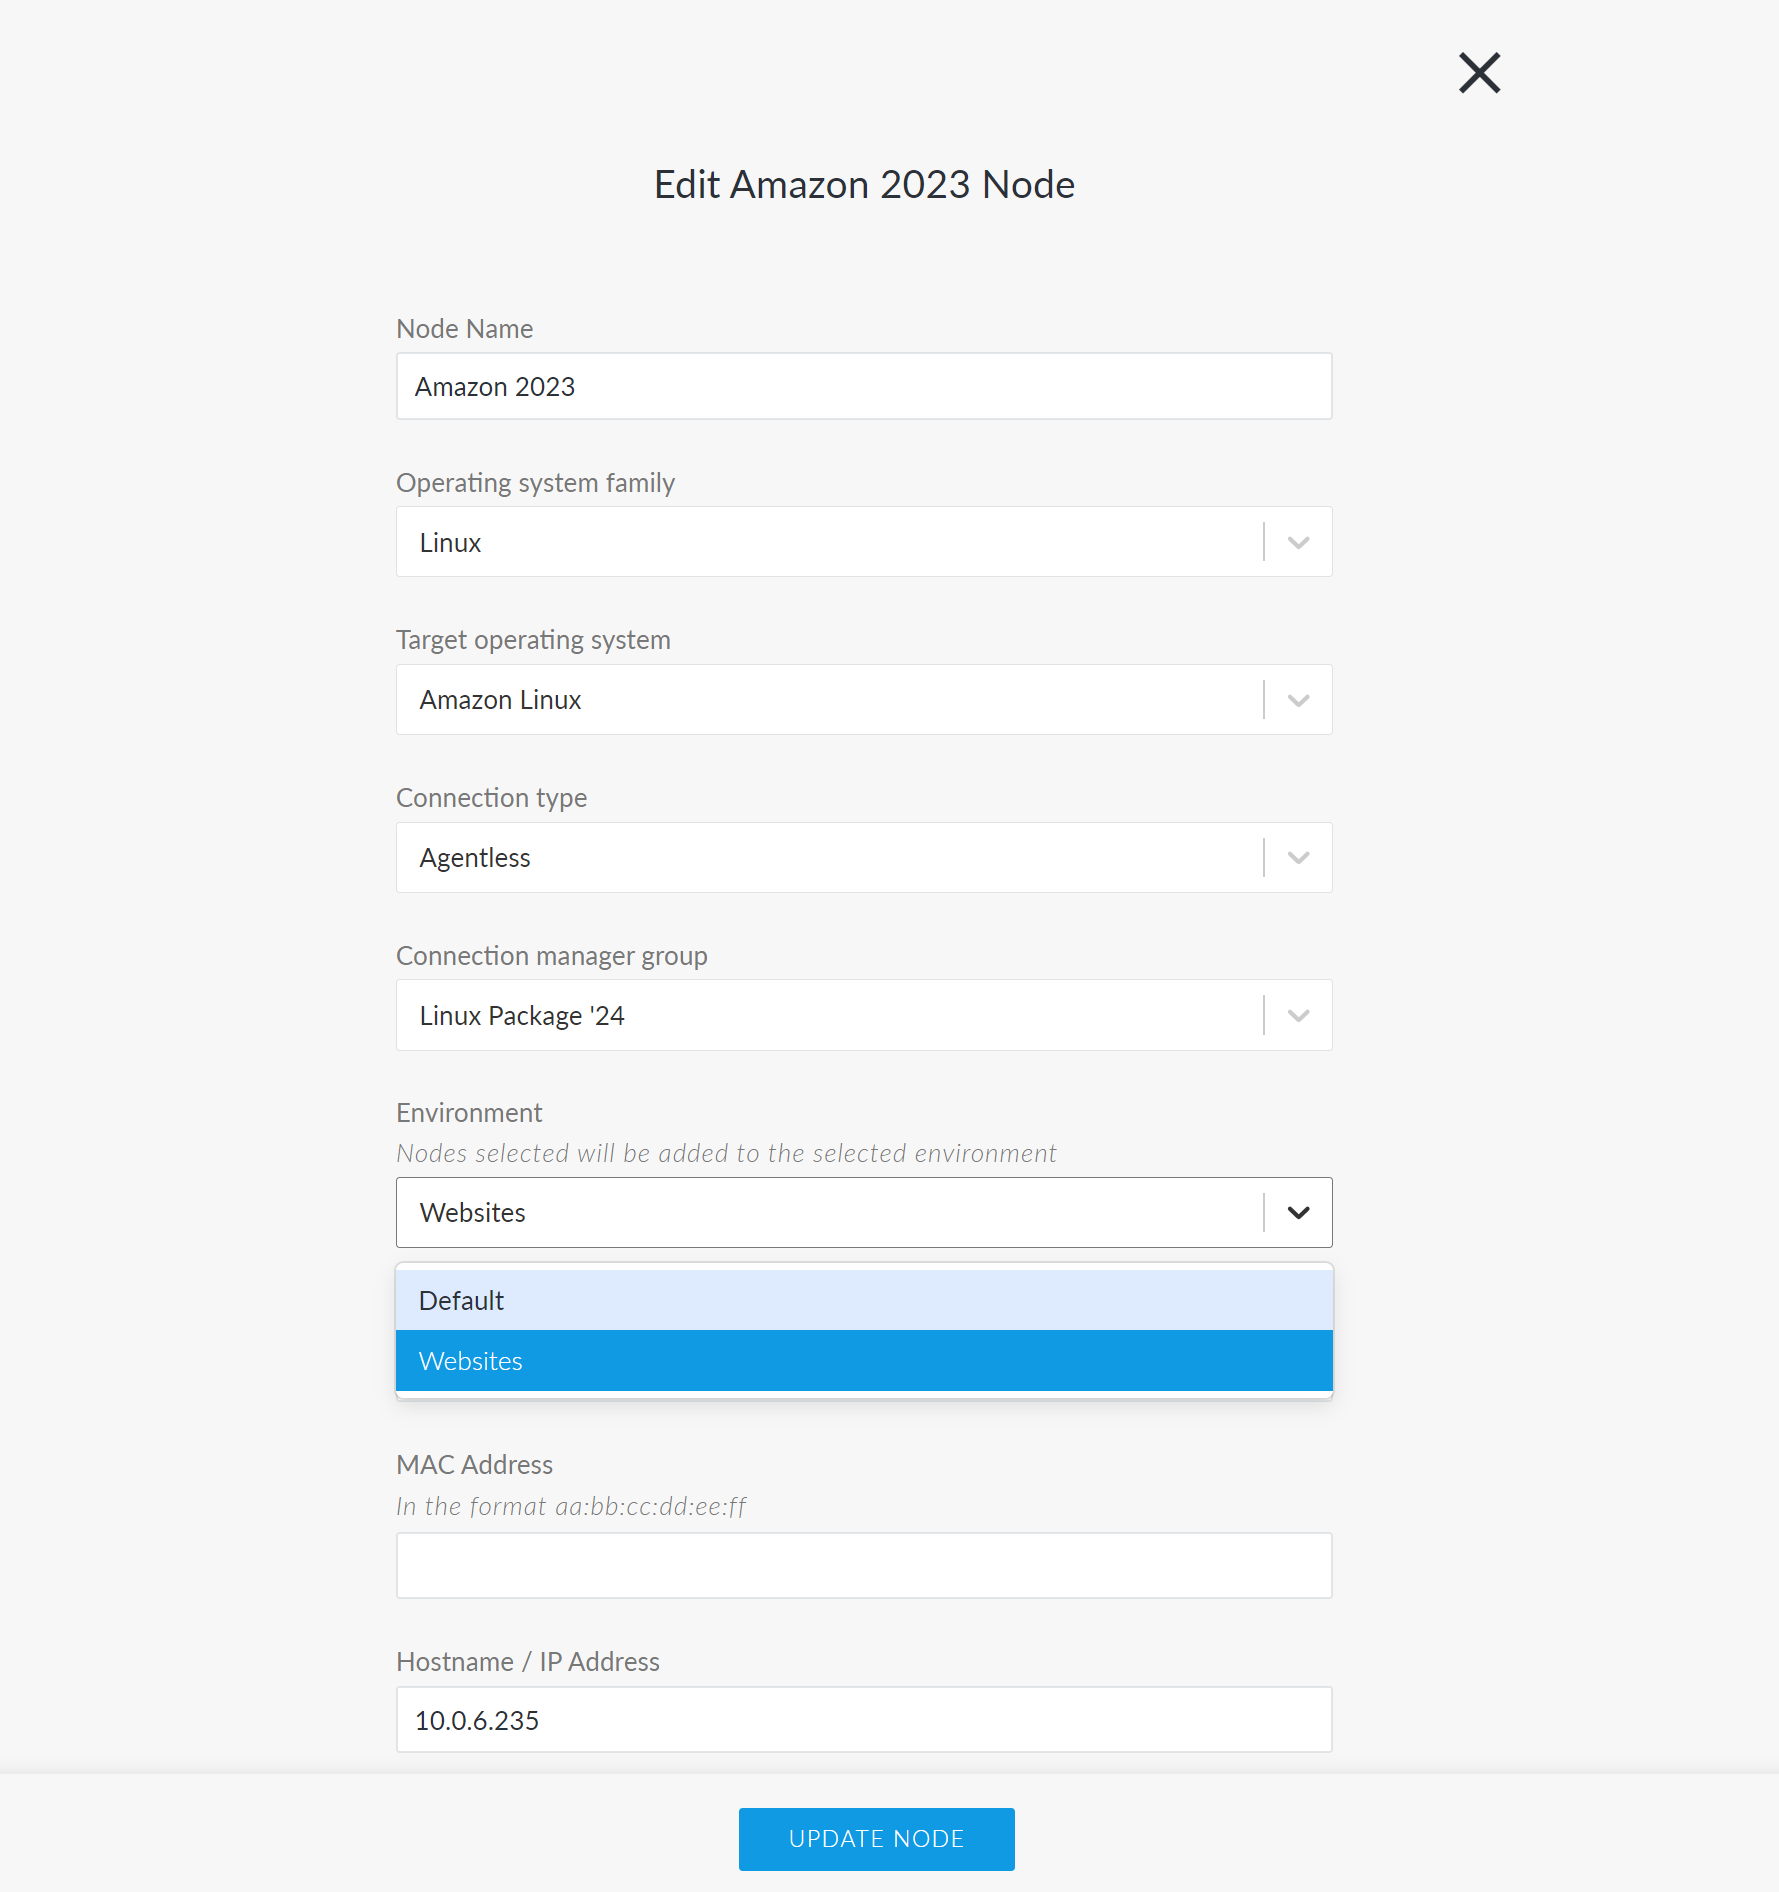
The results of the latest node scan is displayed. Click the Edit button on the top-right side of the page. The Edit Node page is displayed.
-
Select a new environment from the Environment drop-down list.
-
Then, click the Update Node button to save your changes.
Once complete, the node is assigned to, and displayed within, the new environment. For more information on the additional fields displayed within the Edit Node page, see Edit Node.
Node Rules
By default, when a node is added in Guardian it is assigned to the 'Default' environment. However, you can apply node rules to a custom (non-'Default') environment to automatically assign any nodes that match the regular expression pattern(s) to the associated environment. You can add multiple regular expression patterns to each environment, one per line. For more information, see Node Rules.
The following behavior is present on node rules that are applied to an environment:
Note: This behavior is not present on node rules that are applied to a node group, as a node can belong to multiple node groups, but only one environment. For more information, see Node Groups.
-
When a new node is added to Guardian, the node rules present on each environment are checked against the name of the node (in an arbitrary order) and the node is assigned to the environment with the first match. If no match is found, the node is assigned to the 'Default' environment.
-
When a new environment is created with node rules in Guardian , any nodes that are assigned to the 'Default' environment that match the regular expression pattern(s) are added to the new environment.
Note: Any nodes that match the regular expression pattern(s), but are assigned to a custom environment are not added to the new environment.
-
When an existing environment's node rules are edited in Guardian, any nodes that are assigned to the 'Default' environment that match the new regular expression pattern(s) are added to the environment.
Note: Any nodes that match the regular expression pattern(s), but are assigned to a custom environment are not added to the edited environment.
In addition to node rules, you can utilize Environment Variable Overrides to ensure that the configuration of your application is configured correctly and your nodes are organized into the corresponding environments. For more information, see Environment Variable Overrides.