Add Node Group
The term 'node' in Cloudhouse Guardian (Guardian) is used to represent any scannable object in your environment. Anything with an IP address or a single cloud entity can be added to your environment as a node. Node groups are used to group nodes with similar properties and roles. For more information on node groups and their purpose, see Node Groups. There are two types of node groups you can create; a standard (static) node group or a dynamic node group. Dynamic node groups are defined by a pattern or common attribute that is set via a dynamic search query. Any nodes that would be returned by the query are automatically assigned to the node group. Once a node no longer meets the criteria stipulated in the query, it is removed. Standard node groups are static in nature – without manual intervention, the group will remain exactly as it was upon creation, until it is edited or deleted. However, there are many opportunities for customization within either group type. The following topic describes how to create a node group, including the various methods of customization available during this process. For more information on the difference between a static and dynamic node group, see Static / Dynamic Node Groups.
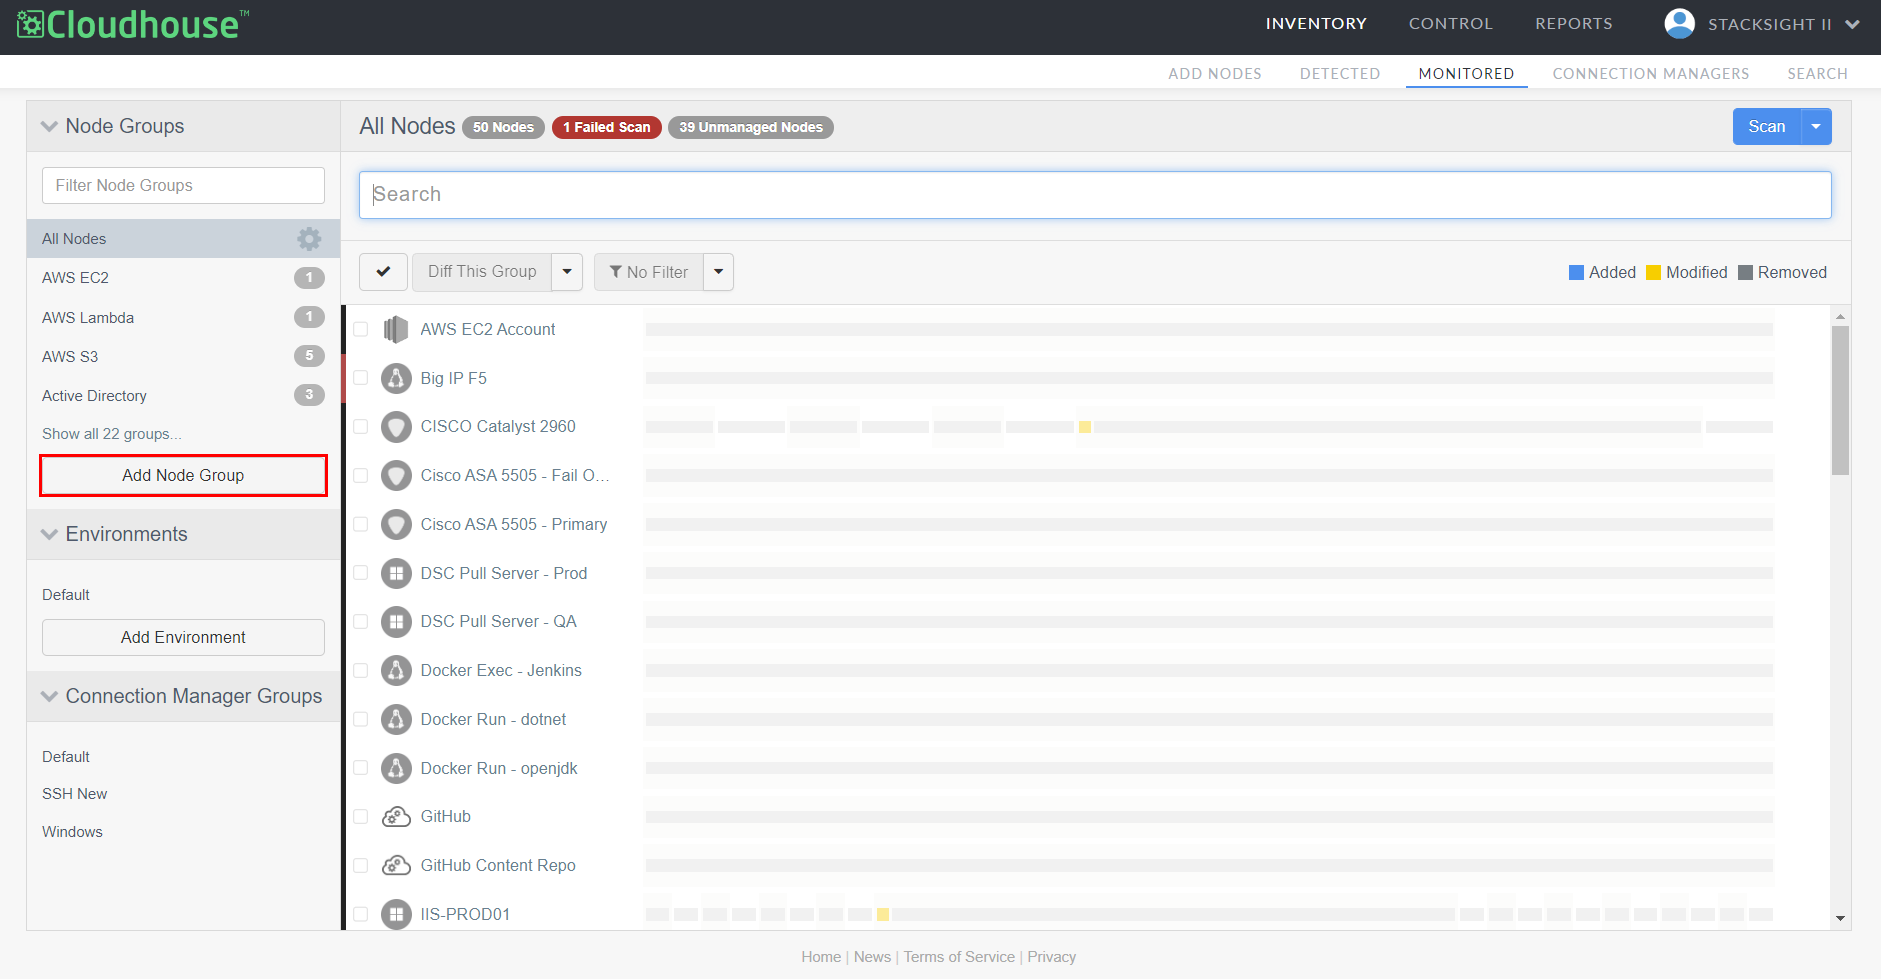
To add a new node group, complete the following steps:
-
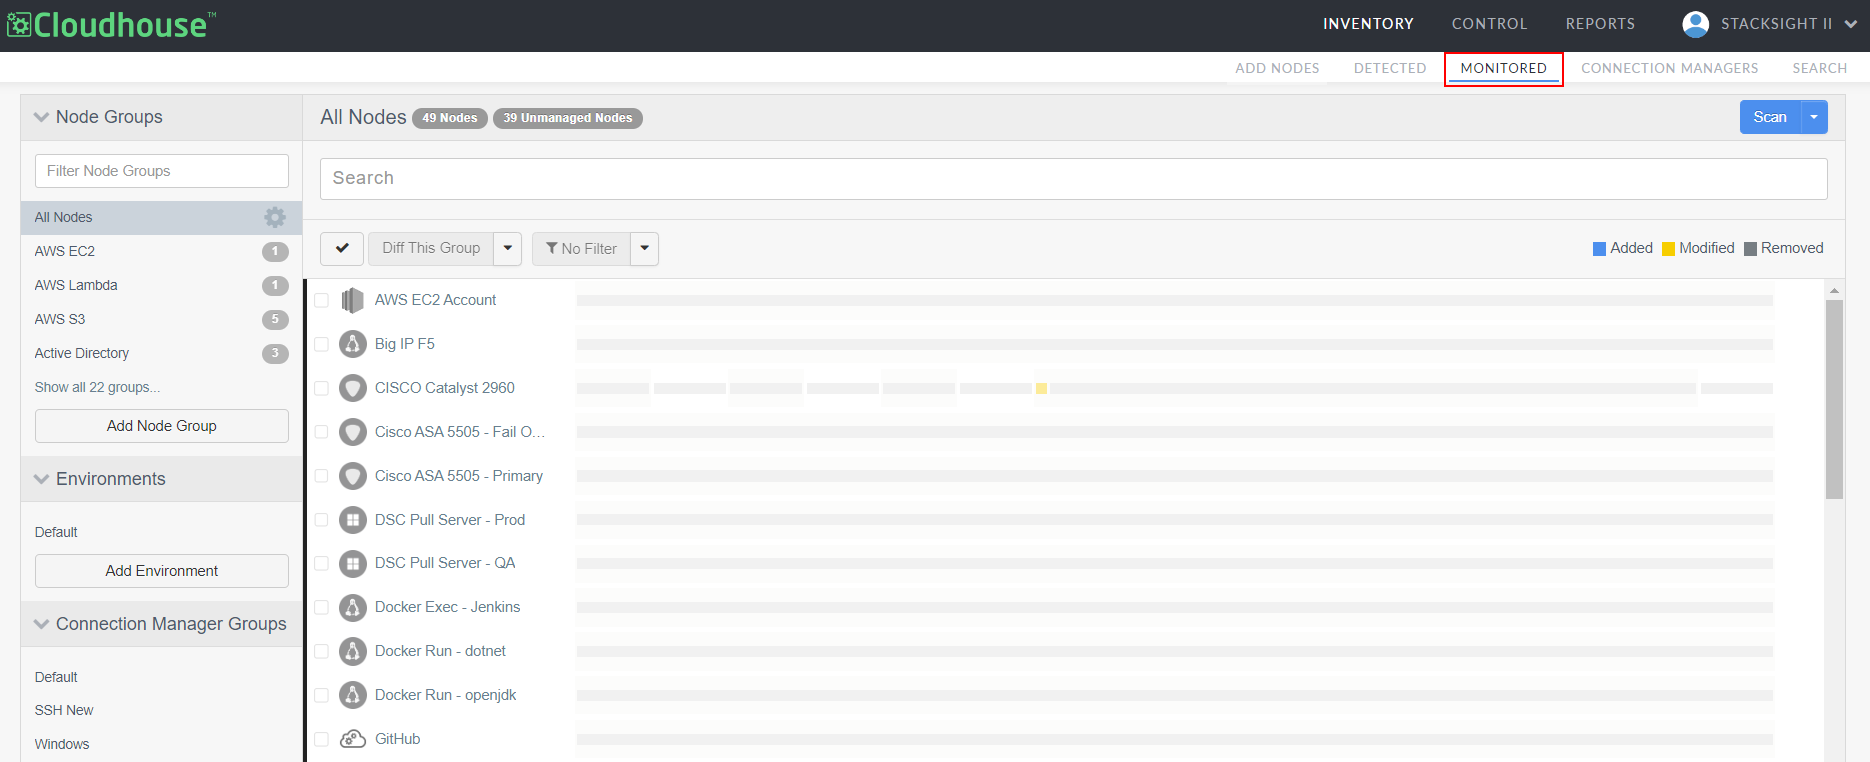
In the Guardian web application, navigate to the Monitored tab (Inventory > Monitored). By default, all currently monitored nodes are displayed.
-
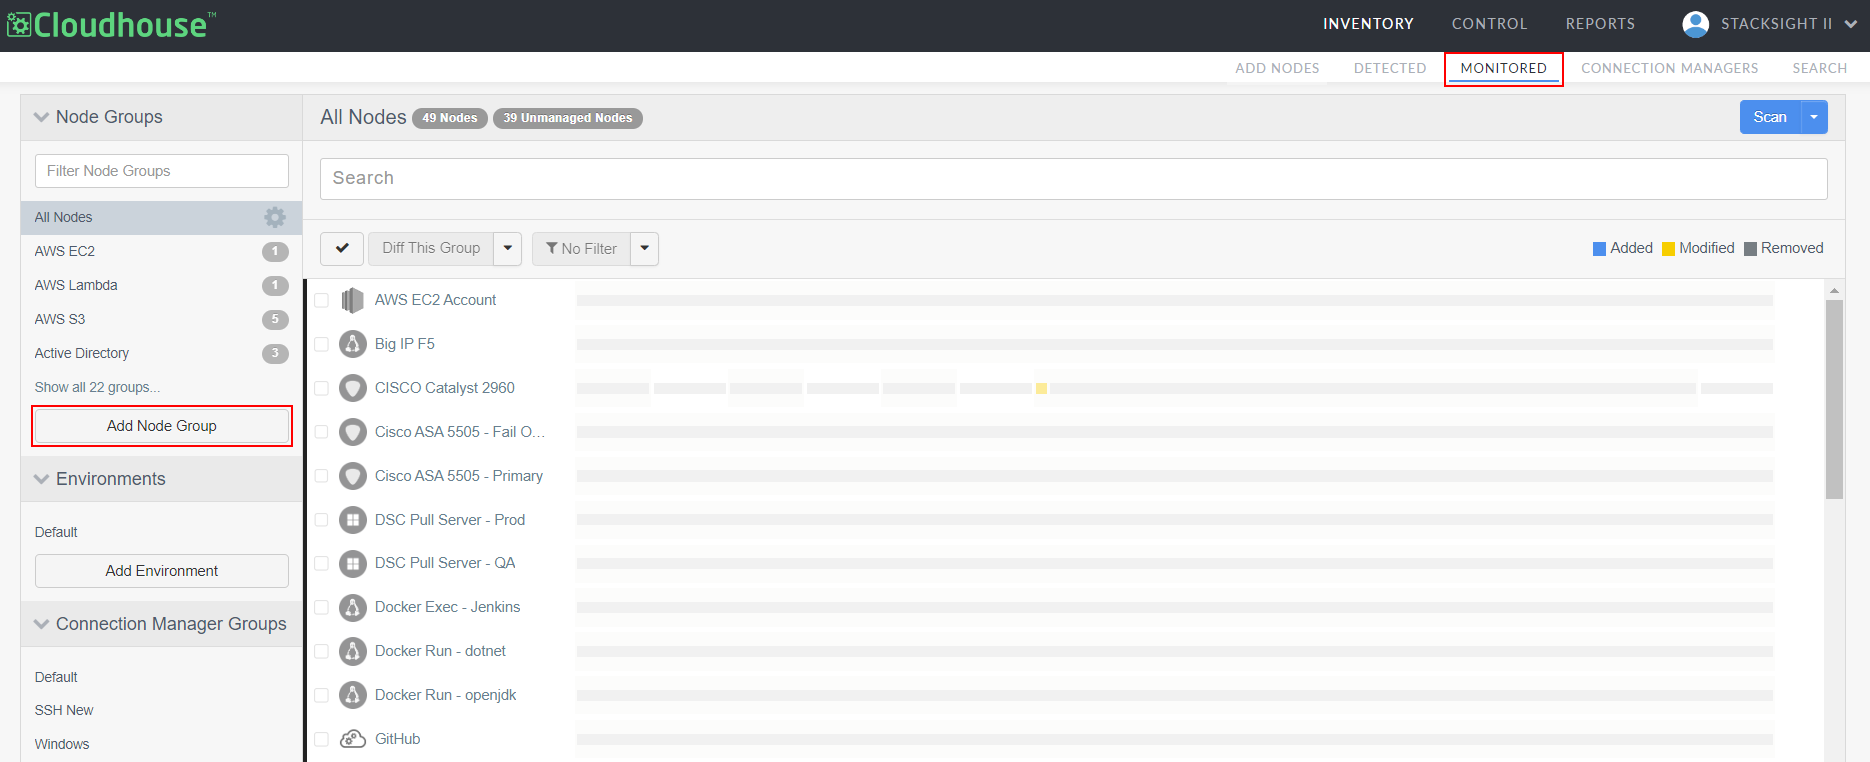
In the Node Groups drop-down menu, click the Add Node Group button. The node group's settings page is then displayed.
-
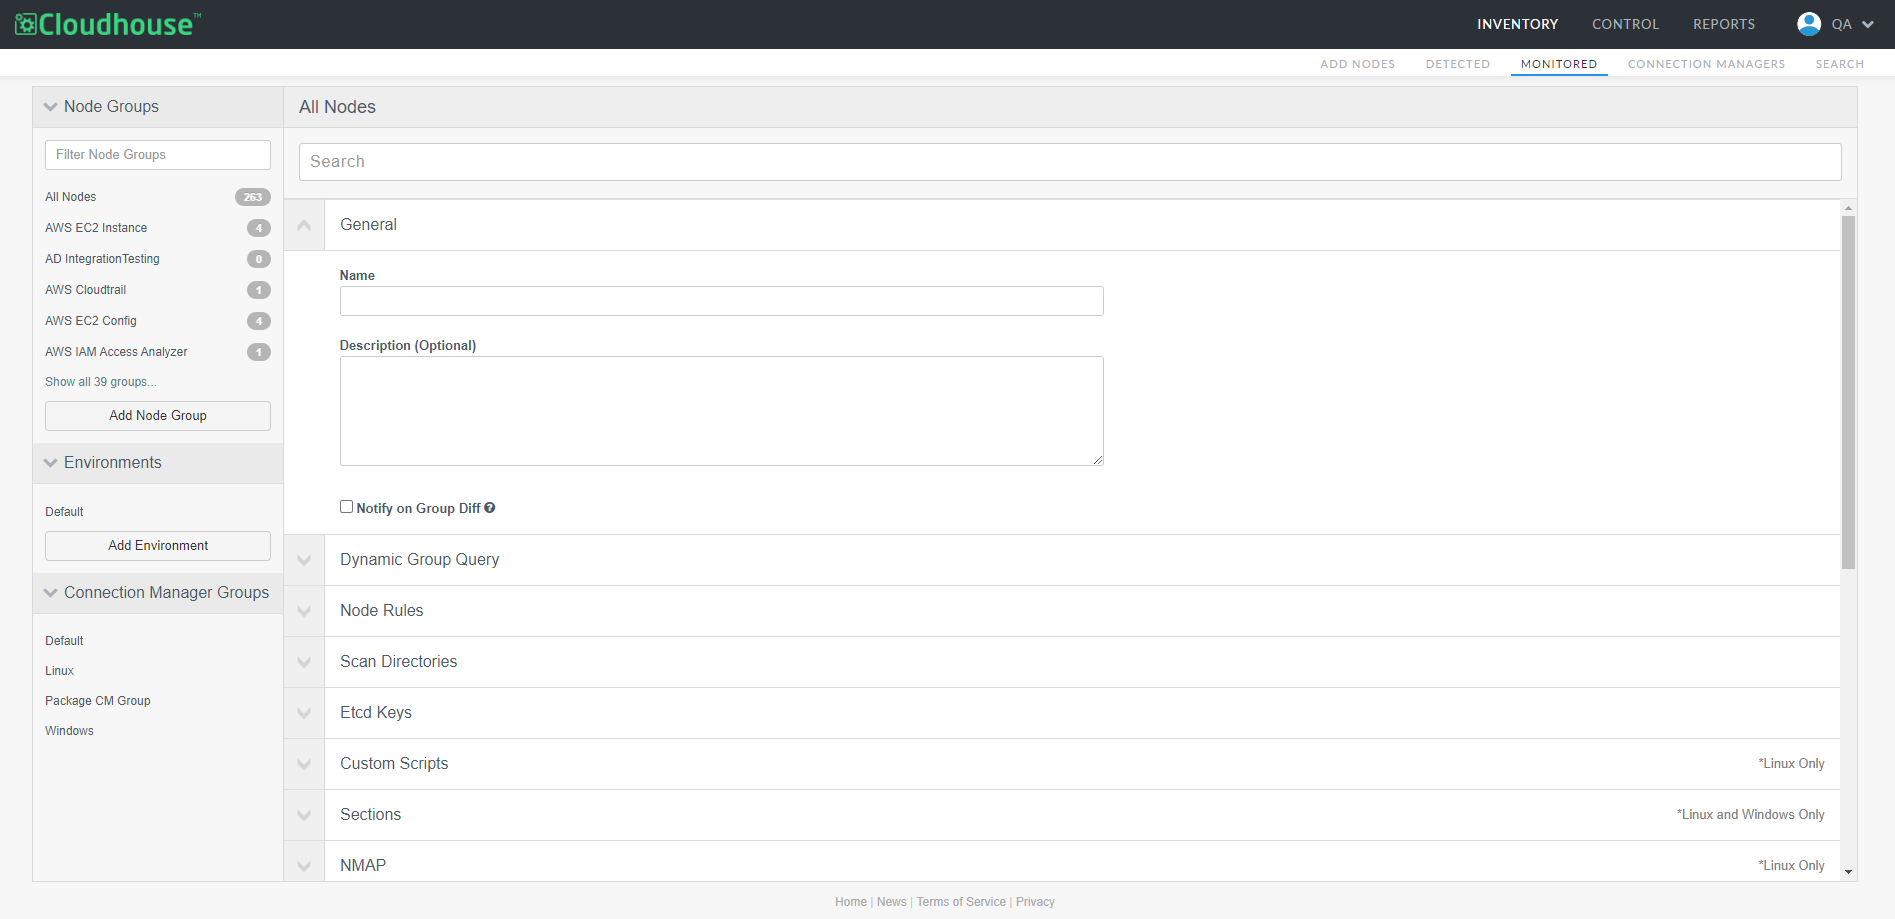
Enter the information required in each of the following sections, according to the types of nodes you intend to be scanned:
| Section | Description |
|---|---|
|
General |
Identifying information about the node group. The following fields are displayed:
|
|
Dynamic Group Query (Optional) |
Option to add a dynamic query that will automatically add node types that meet the specified criteria to the node group. This additional step makes the node group dynamic. For more information on how to do this, see Dynamic Group Queries. |
|
Node Rules |
Option to use regular expressions to set a rule, or rules, for the node group to automatically add nodes that meet the specified criteria to the node group. For more information on how to do this, see Node Rules. |
|
Scan Directories |
The directories to be scanned for files. Multiple files, or patterns representing groups of files, can be specified one per line. The following options are displayed:
Note: Since file scan options are set within node groups and nodes can be assigned to multiple node groups, there is a possibility that a conflict could occur. For example, if the priority is set to '1000' (the lowest priority) in one node group and '1' (the highest priority) in another, the higher priority is used by default.
Note: By default, the scan collects text file contents as an MD5 checksum. If the Contents checkbox is selected, the scan will read the raw contents of the file and enable change detection to be executed on the file contents.
Once complete, click the Check button (Checkmark button as shown in the Guardian user interface.) to add the scan directory to your node group's settings. Repeat as required. Warning: The contents of binary files and files exceeding 100KB are not retrieved during a scan, regardless of whether the Content checkbox is selected. |
|
Etcd Keys |
The key value pairs to be scanned for etcd files. The following options are displayed:
Note: By default, the scan collects text files contents as an MD5 checksum. If the Contents checkbox is selected, the scan will read the raw contents of the key and enable change detection to be executed on the key contents. Warning: The contents of binary files and files exceeding 100KB are not retrieved during a scan, regardless of whether the Contents checkbox is selected. Once complete, click the Check button (Checkmark button as shown in the Guardian user interface.) to add the etcd keys to your node group's settings. Repeat as required. For more information on the different syntax and rules you can use, see Syntax Rules. |
|
Custom Scripts (Linux only) |
Custom scripts for Linux nodes to be run and scanned. Custom scripts enable you to run commands outside of those provided by a default node scan. The following options are displayed: Note: This functionality requires Guardian Agent v3.1.1.
Tip: For more information on different queries you can use, see Custom Scripts (Linux only). Returned scripts are displayed as flat files under the scripts section of the visualization. For more information, see Node Scan Results. This allows you to return back data that may not have a strictly defined structure. Once complete, click the Check button (Checkmark button as shown in the Guardian user interface.) to apply the registry keys to your node group's settings. Repeat as required. |
|
Sections (Windows and Linux only) |
Additional sections that you want to be scanned. Enter a value in the Additional Scan Sections field. For example, 'CertStore' or 'docker', for Windows and Linux nodes respectively. Note: For Windows nodes only, you can enter 'IIS' to be scanned by your Windows Connection Manager. Once the scan options are saved and applied, the next time the nodes are scanned, the IIS setting is displayed in the node scan results page. Once complete, click the Check button (Checkmark button as shown in the Guardian user interface.) to add the scan sections to your node group's settings. Repeat as required. For more information on IIS settings for Windows only nodes, see Sections (Windows and Linux only). |
|
NMAP (Linux only) |
Additional arguments to be used during NMAP scanning. Enter an argument in the NMAP field to initiate an NMAP scan via the Linux Connection Manager (using the provided settings). Ports for this scan can be designated in the following ways:
Once complete, click the Check button (Checkmark button as shown in the Guardian user interface.) to apply the NMAP settings to your node group. Repeat as required. For more information, see NMAP (Linux only). |
|
PowerShell Queries (Windows only) |
PowerShell queries to be run and scanned by your Windows Connection Manager. The following options are displayed: Note: This functionality requires Guardian Agent v3.1.1.
Once complete, click the Check button (Checkmark button as shown in the Guardian user interface.) to apply the registry keys to your node group's settings. Repeat as required. For more information, see PowerShell (Windows only). |
|
Registry Keys (Windows only) |
Registry keys to be scanned by your Windows Connection Manager. Enter the absolute path to a key value name or parent key path in the Registry Key field. Abbreviations such as 'HKLM' are supported. For example: Note: For scanning multiple registry sub keys, Guardian supports glob syntax to make it easier to work with multiple files that share the same or similar file names. For sub keys, using ' Once complete, click the Check button (Checkmark button as shown in the Guardian user interface.) to apply the registry keys to your node group's settings. Repeat as required. For more information see, Registry (Windows only). |
|
Group Policy Objects (Windows only) |
Group Policy Objects (GPO) to be scanned by your Windows Connection Manager. Enter the name of the GPO as it appears in the Windows Group Policy Management Console. Once complete, click the Check button (Checkmark button as shown in the Guardian user interface.) to apply the registry keys to your node group's settings. Repeat as required. For more information see, Group Policy (Windows only). |
|
SQL Queries (Databases only) |
SQL queries to be run and results scanned to detect changes to database table schemas, triggers, stored procedures, or indexes, for example. To detect column or attribute changes you can select on your databases schema table, for example, you would set the schema for the first Microsoft SQL Server database and select the sales column data: The following options are displayed:
Once complete, click the Check button (Checkmark button as shown in the Guardian user interface.) to apply the SQL queries to your node group's settings. Repeat as required. |
|
Connectivity |
Any connectivity checks that you want to be done against the host and port, via TCP or UDP connection protocol, to determine whether a node is able to establish a connection to a specific system (or service) via the specified port. The following options are displayed:
Once complete, click the Check button (Checkmark button as shown in the Guardian user interface.) to apply the connectivity checks to your node group's settings. Repeat as required. |
|
Web |
Any Web checks that you want to be done against an endpoint URL to determine whether a node is able to connect to the Web endpoint and, optionally, retrieve the contents of the response body. The following options are displayed:
Note: By default, the scan collects text file contents as an MD5 checksum. If the Contents checkbox is selected, the scan will read the raw contents of the file and enable change detection to be executed on the file contents. Warning: The contents of binary files and files exceeding 100KB are not retrieved during a scan, regardless of whether the Contents checkbox is selected. Once complete, click the Check button (Checkmark button as shown in the Guardian user interface.) to apply the Web checks to your node group's settings. Repeat as required. |
|
Ports |
The ports to be scanned. By default, active local TCP and UDP ports 1 - 1024 are scanned. Here, you can specify a range of ports to be scanned. The following options are displayed:
Once complete, click the Check button (Checkmark button as shown in the Guardian user interface.) to add the ports to your node group's settings. Repeat as required. |
|
Ignored Items |
The configuration items that you have set to be ignored from node scans and drift reports. Click to Edit or Delete (Delete button as shown in the Guardian user interface.) items from this list. For more information on how to add a configuration item to the ignore list, see Node Scan Ignore Lists. |
|
Group Diff Ignored Items |
The configuration items that you have set to be ignored from group difference reports. Click to Edit or Delete (Delete button as shown in the Guardian user interface.) items from this list. For more information on how to add a configuration item to the ignore list, see Group Diff Ignore Lists. |
|
Text Excluded When Comparing |
Any text that you want to be excluded during differencing. For more information, see Configuration Differencing. Enter text that you want to be excluded in the Text to Exclude field, using regular expressions (RegEx). For example, to exclude any string that starts with 'version', use ' Once complete, click the Check button (Checkmark button as shown in the Guardian user interface.) to apply the setting to your node group's configuration settings. Repeat as required. |
- Once complete, click to Save your changes and create the node group.
If successful, a confirmation message is displayed and the new node group is created and displayed. Then, you can begin adding nodes to your group, see Node Groups for more information.
Note: If you added a dynamic group query, Guardian will automatically start adding nodes that match the stipulated criteria to your node group.